
How to Secure Your Home With a Portable Camera
A practical guide to setting up a portable wireless security camera: where to place it, how to avoid dead zones, cutting monthly fees, and the mistakes that leave homes exposed.
In This Article
- Why a Portable Camera Makes Sense
- Step 1: Map Your Entry Points
- Step 2: Choose Local Storage Over Subscriptions
- Step 3: Check Your Wi-Fi Band
- Step 4: Mount for Detail, Not Distance
- Step 5: Tune Motion Detection
- Step 6: Test Before You Trust It
- Cutting the Monthly Fee Entirely
- Common Mistakes That Leave Gaps
- Who This Setup Is For
- Final Takeaway
Most break-ins are crimes of opportunity. A visible camera and a quick alert turn your home from an easy target into a hassle a thief would rather skip. You don’t need a $1,000 wired system or a monthly contract to get there. A portable wireless camera, placed well, covers most homes for under $50 and zero ongoing fees.
This guide walks through the setup that actually protects a home, the mistakes that leave gaps, and how to keep your costs at zero. If you want the product-level breakdown first, our GuardHouse security camera review tests one budget option in real conditions. For the bigger picture on the category, the smart home security hub lists every guide and review we’ve run.
Why a Portable Camera Makes Sense
Portable cameras are small, wireless, and self-contained. No drilling through walls, no hub, no technician. You stick one on a shelf or screw it to a wall, pair it to Wi-Fi, and you have a live feed in minutes. That speed is why they’ve become the entry point for first-time security buyers.
They also sidestep the subscription trap. Traditional systems charge $3-6 a month for video history, which adds up to $70+ a year. A camera that records to a microSD card skips that entirely. You buy it once and you’re done.
Step 1: Map Your Entry Points
Security starts with thinking like an intruder. Walk the perimeter and note every way someone could get in: the front door, a ground-floor window, a side gate, the garage. Those are your camera spots.
Don’t try to cover the whole property. Start with the two or three approaches that matter most. A front-door cam plus a garage cam handles most homes, and you can add more later as needs or budget grow.
Step 2: Choose Local Storage Over Subscriptions
This is the decision that saves you the most money over time. Look for a camera with a microSD slot so footage records on-device. Brands like GuardHouse, Wyze, and several TP-Link Tapo models do this well.
Cloud-only cameras lock your history behind a monthly fee. Local storage keeps your clips private and free. The one trade-off: if the camera is stolen, the footage goes with it, so mount it somewhere hard to reach.
Step 3: Check Your Wi-Fi Band
Portable cameras almost always run on 2.4GHz Wi-Fi. If your router only broadcasts 5GHz, or hides the 2.4GHz network behind a combined name, pairing will stall and you’ll blame the camera.
Set a dedicated or combined 2.4GHz SSID first. Place the camera within strong range of the router, because a weak signal is the most common cause of dropped live feeds and late alerts.
Step 4: Mount for Detail, Not Distance
A common mistake is mounting the camera high and pointing it across a long driveway. Budget lenses lose detail past about 15 feet, so you capture blobs instead of faces. Keep the lens 10-15 feet from what you want to identify.
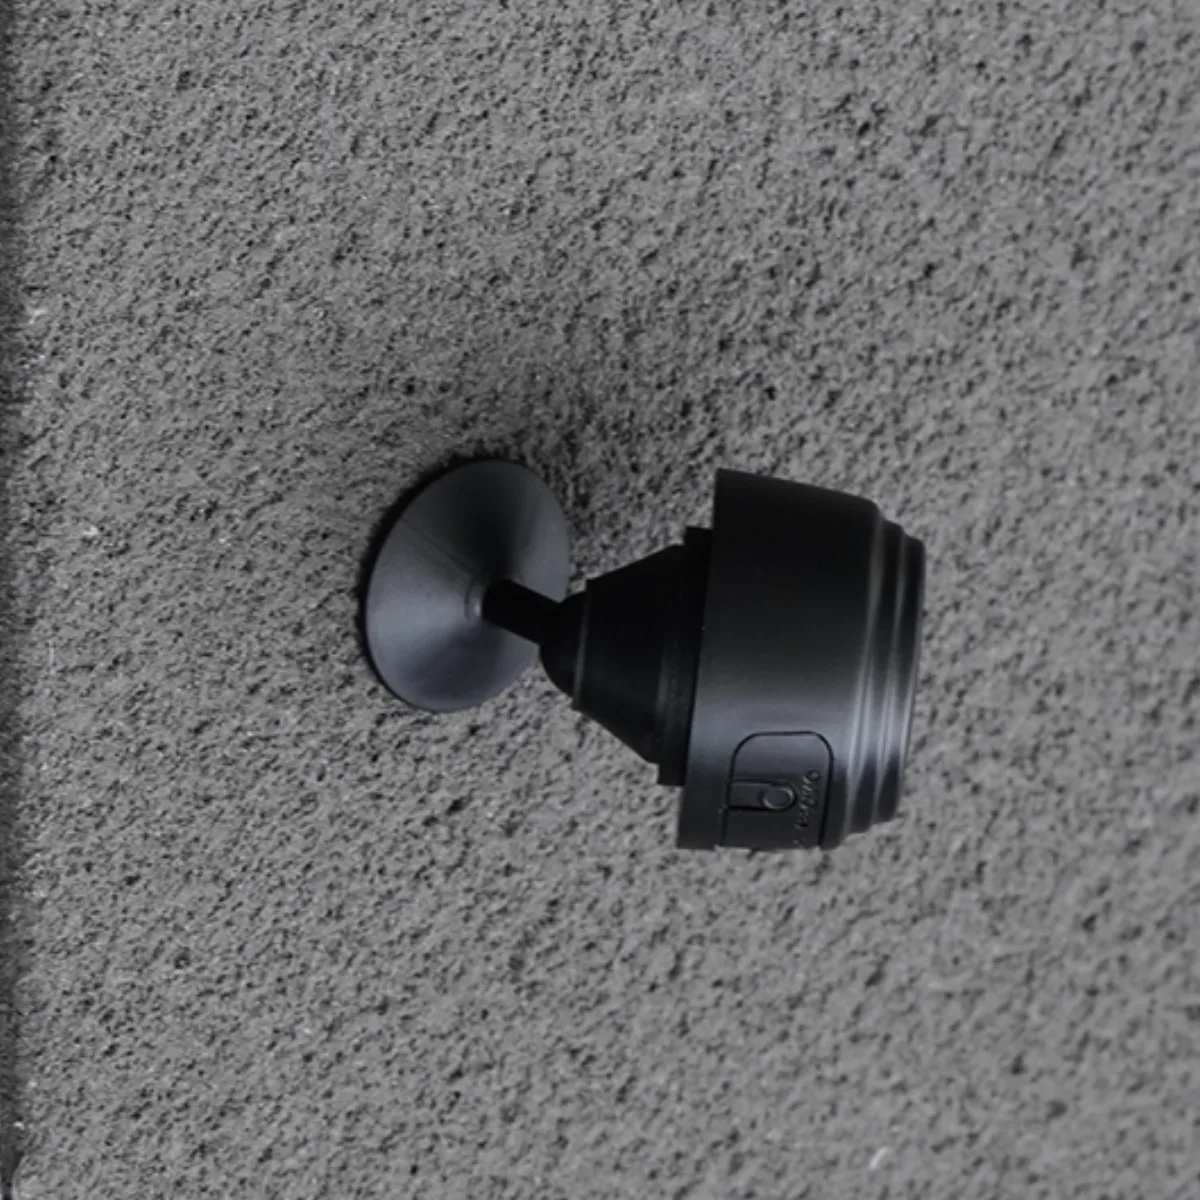
Use the screw mount for anything permanent. Magnets are convenient but slip on textured walls. Mount at adult height, out of easy reach, and under cover if the camera isn’t weather-rated. A porch ceiling or garage interior is ideal.
Step 5: Tune Motion Detection
Basic motion detection fires on any movement, so a swaying branch or a passing car becomes a false alert. Open the app and narrow the detection zone to the actual path you care about. Aim away from busy foliage and streets.
Test by walking through frame and timing the notification. A good setup pings you within a few seconds. If alerts lag or the feed drops, reposition or consider a camera with smarter detection.
Step 6: Test Before You Trust It
Run the camera for a few days and review the clips. Confirm night vision is clear, alerts are timely, and the live feed loads when you’re away from home. A flaky app or soft video is a sign to reposition or pick a more mature model before you depend on it.
For a budget cam that passed our real-world test, see the GuardHouse review. It’s not perfect, but it shows what $39 and no fees actually delivers.
Cutting the Monthly Fee Entirely
The math is simple. A $39 camera with local storage costs $39 over three years. A Ring or Nest setup runs $100-plus in hardware plus $3-6 monthly, crossing $200 over the same window. If you’re disciplined about local storage, your security stays cheap indefinitely.
The best portable security cameras roundup compares several no-subscription options side by side so you can pick the one that fits your home.
Common Mistakes That Leave Gaps
- Mounting too high or too far. Detail dies past 15 feet on budget lenses.
- Ignoring the Wi-Fi band. 2.4GHz only, or pairing fails.
- Trusting the magnet outdoors. It slips on textured surfaces.
- Skipping the SD card format. Clips won’t save if the card isn’t formatted in the app.
- Exposing a non-weatherproof cam. Keep indoor-built shells under cover.
Who This Setup Is For
Renters, students, and first-time buyers get the most from a portable setup. It’s also a tidy way to add a spare eye on a garage or a kid’s room without wiring. If you need professional monitoring or weather-hardened outdoor hardware, build out from here rather than expecting a $39 cam to do it all.
Final Takeaway
A portable wireless camera is the fastest, cheapest way to make a home harder to target. Map your entries, pick local storage, check your Wi-Fi, and mount close to the action. Do that and you get real protection for under $50 with no monthly bill. For product picks that fit this setup, start with the smart home hub and the GuardHouse review.
Frequently Asked Questions
Where should I put a portable security camera?
Do portable cameras need Wi-Fi?
How do I avoid monthly fees?
Can a portable camera replace a full security system?
Why do I get so many false alerts?
Is local storage safe?
How many cameras do I need?
What's the biggest setup mistake?

Maya Chen
Smart home enthusiast and IoT specialist. Has automated over 50 homes across different ecosystems. Former smart home consultant for Google Nest and Amazon Alexa. Passionate about making technology accessible.
Affiliate disclosure:This article contains affiliate links. If you buy through them, GearPuff may earn a commission at no extra cost to you. It keeps our testing independent and our reviews free.