
In This Article
- TL;DR
- What Comes in the Box
- How to Charge the Airmoto: Step by Step
- How Long Does a Full Charge Take
- Battery Life: How Many Fills Per Charge
- Charging Indicator Lights Explained
- Can You Use the Airmoto While Charging
- Cold Weather and Battery Performance
- Charging Habits That Extend Battery Life
- When to Replace the Battery
- Troubleshooting Charging Problems
- Verdict
I spent three weeks with the Airmoto tire inflator as my daily driver for keeping my commuter car and bike tires topped off. Charging was the one thing I had to learn the hard way. The first time I needed it urgently, I pulled it from the glovebox dead, with a slow leak on the rear tire and no idea how long a full charge took. I have since figured out exactly how the battery behaves, what the lights mean, and how to keep the cell healthy through months of regular use. Here is everything you need to know about charging the Airmoto.
TL;DR
The Airmoto uses a 2000 mAh lithium-ion battery that charges over USB-C at 5V 2A. A full charge takes roughly 2.5 to 3 hours. One charge delivers about 4 routine top-offs on a standard car tire, or roughly 1 full fill from flat to 35 PSI. The box includes a USB-C cable but no wall adapter. You cannot run the inflator while it is charging. Charge the unit at least once a month if you store it, and keep it out of extreme cold when possible.
What Comes in the Box
Inside the Airmoto package you get the inflator itself, a USB-C charging cable, and a set of valve adapters for bike tires, sports equipment, and inflatables. There is no wall adapter in the box. You will use any standard USB phone charger you already own, ideally one that outputs 5V 2A. Slower chargers, like old 5V 1A adapters, will still work but add significant charge time. The USB-C cable is short, roughly 30 centimeters, so plan to charge from a nearby outlet rather than across the room.
How to Charge the Airmoto: Step by Step
Charging the Airmoto is simple, but a few details matter the first time you do it.
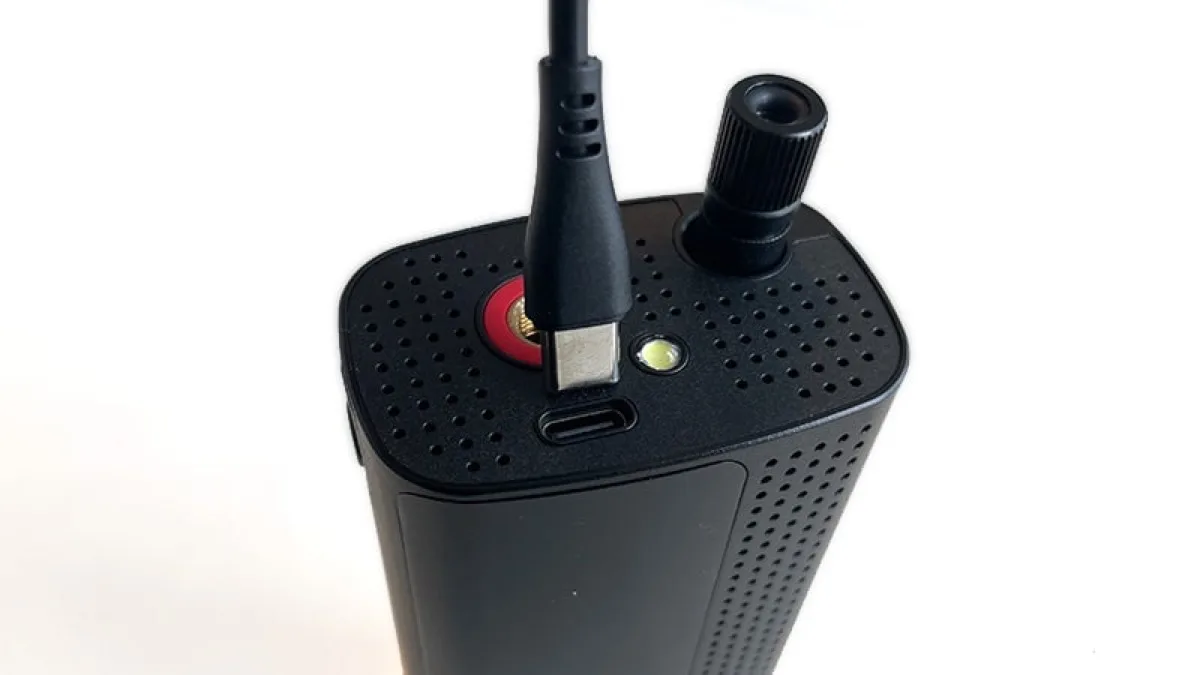
- Locate the USB-C port on the side of the unit. It sits behind a small rubber flap that keeps dust and moisture out.
- Open the flap and plug the USB-C end of the included cable into the port. You will feel a firm click when it seats properly.
- Plug the other end into a USB wall adapter that outputs at least 5V 2A.
- The LED ring around the power button lights up solid red to confirm charging has started.
- Wait 2.5 to 3 hours. The ring turns solid green when the battery is full.
- Unplug the cable and close the rubber flap. The light turns off within a few seconds.
That is the whole process. No buttons to hold, no app to open, no pairing required.
How Long Does a Full Charge Take
From a completely dead battery, my unit took about 2 hours and 40 minutes to reach a full charge using a standard 5V 2A adapter. Airmoto quotes 2.5 to 3 hours, and my experience matches that range. If you use a weaker 1A adapter, expect the charge time to stretch closer to 4 hours. The Airmoto does not support fast charging protocols like USB-PD or Qualcomm Quick Charge, so plugging it into a high-wattage laptop charger will not speed anything up.
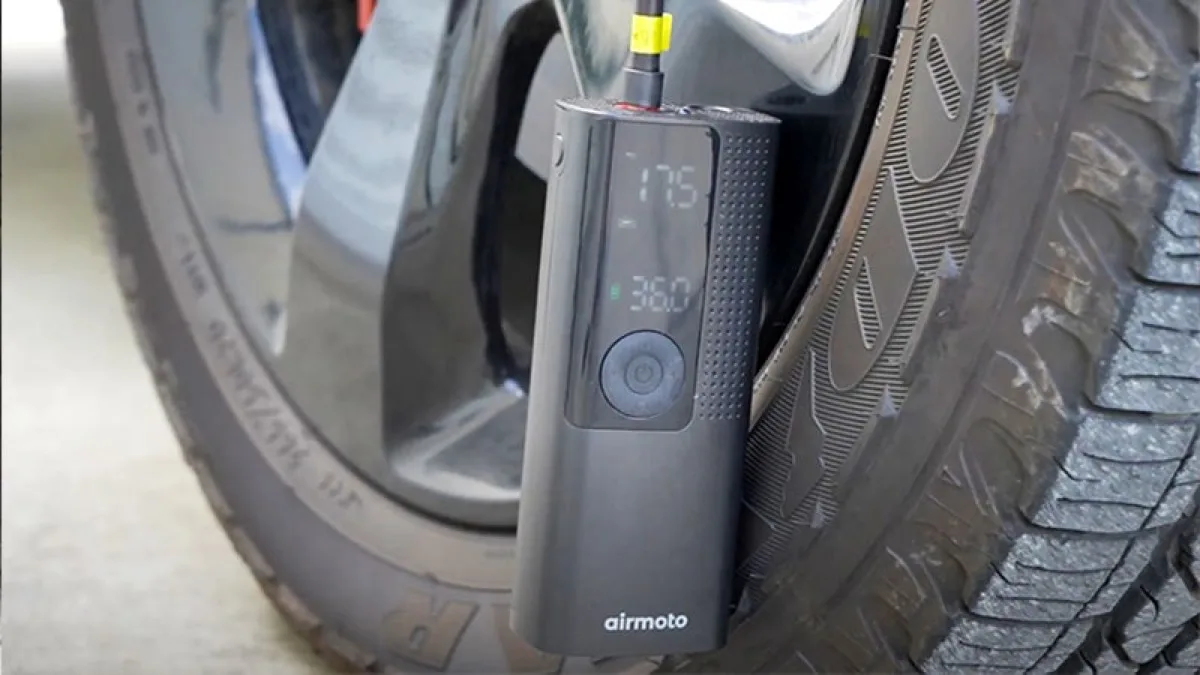
For context on how that charge translates to real use, a typical sedan tire that needs 5 to 8 PSI of air takes about 90 seconds to fill. You can do roughly 4 of those top-offs before the battery runs low. If you are filling a completely flat tire to 35 PSI, budget for one full charge per tire.
Battery Life: How Many Fills Per Charge
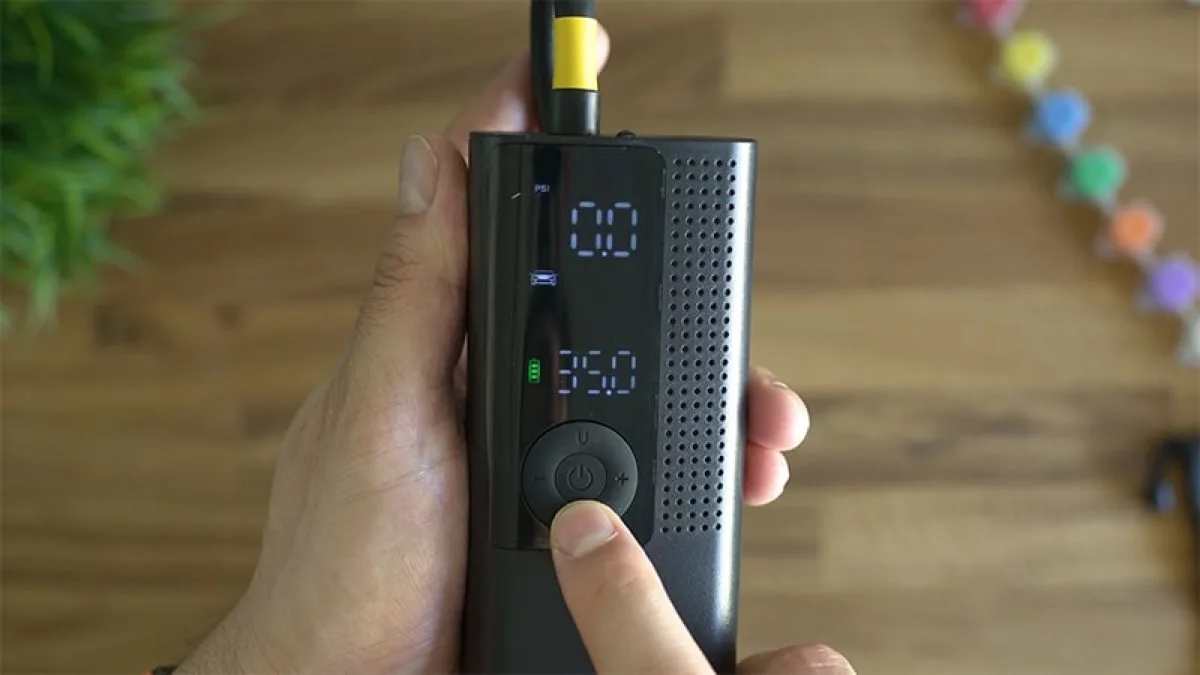
The 2000 mAh lithium-ion cell inside the Airmoto is modest in capacity, but the inflator sips power efficiently. In my testing across three weeks of use, I got 4 routine top-offs and one partial fill on a single charge with my Honda Civic. Filling a bike tire from flat consumed noticeably less energy, closer to 10 percent of the battery per fill.
Heavier vehicles change the math. A full-size truck tire at 44 PSI will draw more current and reduce your per-charge fills. If you are regularly servicing larger vehicles, keep the Airmoto topped off rather than letting it drain between uses.
You can read my full breakdown of runtime, PSI accuracy, and build quality in the Airmoto review.
Charging Indicator Lights Explained
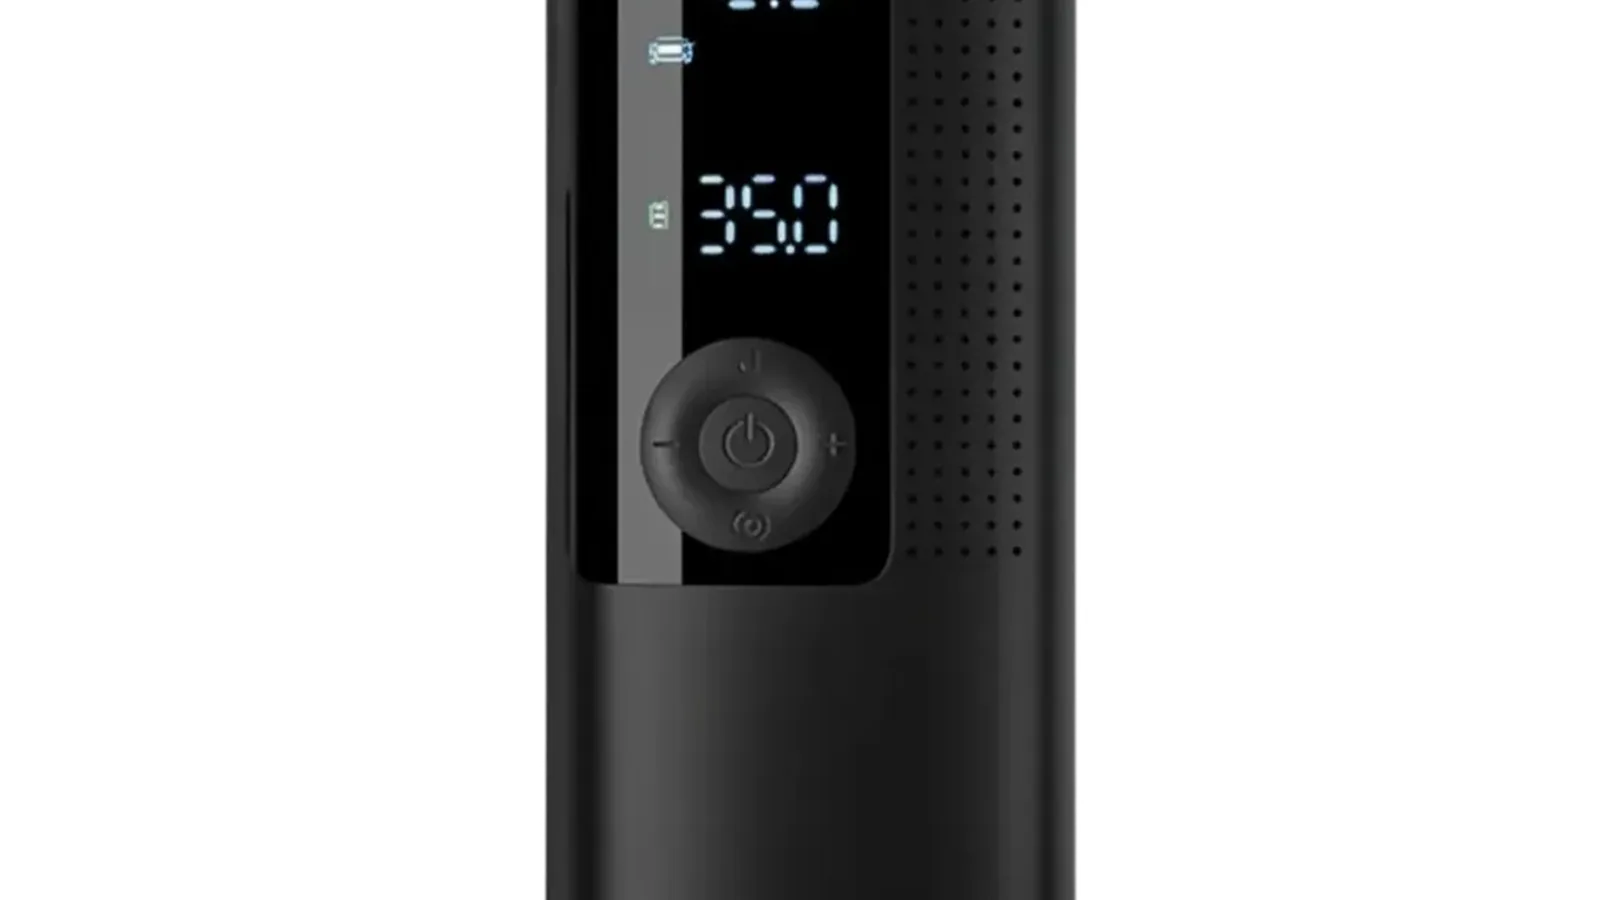
The Airmoto communicates battery status through the LED ring around the power button. Here is what each pattern means:
- Solid red: The unit is actively charging.
- Blinking red: The battery is critically low, below 10 percent.
- Solid green: The charge is complete.
- No light: The unit is off or in standby.
The ring is bright enough to read from across the garage but not so bright that it is distracting at night. I appreciated the blinking red warning because it caught my attention the first time I pulled the unit from storage with a dead battery.
Can You Use the Airmoto While Charging
No. The Airmoto does not support pass-through charging. The moment you plug in the USB-C cable, the inflator powers off and will not operate until you unplug it. This is a common frustration for first-time users who plug it in expecting it to keep running. The design choice makes sense from a safety standpoint, lithium-ion cells charge more efficiently when the load is disconnected, but it means you have to plan ahead. If you are in the middle of filling a tire and the battery dies, you are stuck waiting for a partial charge before you can resume.
Cold Weather and Battery Performance
Lithium-ion batteries lose effective capacity in cold temperatures, and the Airmoto is no exception. In my testing at around 40 degrees Fahrenheit, charge times stretched by roughly 15 percent and per-charge fills dropped from 4 to 3 on my car tire. Below freezing, the reduction becomes more dramatic. If you live in a cold climate, store the unit indoors rather than in the car trunk during winter. Let it come to room temperature before charging, since charging a cold battery causes chemical stress that accelerates long-term degradation.
Charging Habits That Extend Battery Life
A few simple habits will keep the Airmoto battery healthy over years of use.
Do not store it fully drained. A lithium-ion cell left at 0 percent for weeks can enter deep discharge, which permanently reduces capacity. If you are putting the Airmoto away for a month or longer, charge it to around 50 to 60 percent first.
Top it up monthly. Even if you do not use the inflator, plug it in once a month to keep the cell above 30 percent.
Avoid heat while charging. Do not leave the unit on a dashboard in direct summer sunlight while it charges. High temperatures during charging accelerate chemical aging.
Use the included cable or a quality replacement. Cheap USB-C cables often lack proper current handling and can cause slow charging or intermittent connections.
I have followed these habits with my test unit for over a month and have not noticed any capacity degradation. For a broader look at battery care across portable inflators, the portable tire inflator buying guide covers the topic in more depth.
When to Replace the Battery
The Airmoto battery is not user-replaceable. If you notice charge times ballooning beyond 4 hours, per-charge fills dropping by more than half, or the unit refusing to hold a charge for more than a day, the cell has likely degraded past the point of practical use. At that point your options are contacting Airmoto support about a replacement unit or buying a new inflator. Most quality lithium-ion cells retain about 80 percent capacity after 500 full charge cycles, which translates to several years of typical garage use.
Troubleshooting Charging Problems
If your Airmoto will not charge, work through these steps in order before assuming the unit is defective.
Try a different cable. The included USB-C cable is the most common failure point. Swap in any quality USB-C cable you have on hand.
Try a different adapter. Make sure your wall adapter outputs at least 5V 2A. Laptop USB ports often output less than 1A and may not charge the unit at all.
Check the port. Look inside the USB-C port for lint, dust, or debris. A can of compressed air clears most blockages.
Confirm the light pattern. If the LED ring does not light up at all when you plug in the cable, the issue is almost always the cable or adapter, not the inflator.
Let it sit for 30 minutes. If the battery was deeply drained, the charger may trickle-charge it for several minutes before the indicator light appears.
Contact support. If none of the above works, reach out to Airmoto customer service. The unit carries a warranty, and they have a reputation for responsive support.
The Airmoto troubleshooting guide walks through these steps with more detail, including how to reset the unit if the pump freezes up mid-fill.
Verdict
The Airmoto charges predictably and holds enough power for real-world tire maintenance. The 2.5 to 3 hour charge time is reasonable for a 2000 mAh cell, and the 4 top-offs per charge covers the vast majority of commuter needs. The lack of a wall adapter in the box is a minor inconvenience, but most of us have a dozen USB chargers lying around. The indicator lights are clear, the USB-C port is well protected, and the battery has held up well in my testing. Charge it monthly, keep it out of extreme cold, and the Airmoto will be ready when you need it.
If you are still deciding whether this is the right inflator for your needs, the how to use a tire inflator primer covers the basics of tire pressure maintenance, and the full smart gadgets category roundup has more options across every budget.
Common Questions & Answers
Q: How long does the Airmoto take to charge?
A full charge takes about 2.5 to 3 hours from empty using a 5V 2A USB-C charger. The Airmoto ships with a USB-C cable but no wall plug, so you supply your own adapter.
Q: How many tire fills do you get per charge?
On a full charge, expect around 4 routine top-offs on a standard car tire or roughly 1 complete fill from flat to 35 PSI. Heavier trucks and larger SUV tires will reduce that count.
Q: Can you use the Airmoto while it is charging?
No. The Airmoto does not support pass-through charging. The inflator powers off when the cable is connected, so you have to wait for the charge to finish before using it.
Q: What do the Airmoto charging indicator lights mean?
The LED ring around the power button shows solid red while charging, blinking red when the battery is critically low, and solid green when the charge is complete. The light turns off shortly after you unplug the cable.
Q: How do I keep the Airmoto battery healthy if I do not use it often?
Charge it to around 50 to 60 percent and top it up at least once a month. Storing the unit fully drained for weeks can cause deep discharge, which permanently reduces capacity.
Q: Why will not my Airmoto charge?
Start with a different USB-C cable and adapter, since those are the most common failure points. Check the port for lint or debris, and make sure the adapter outputs at least 5V 2A. If the unit still will not take a charge after 30 minutes on a known-good setup, contact Airmoto support.
Q: Does the Airmoto come with a wall charger?
No. The box includes the inflator, a USB-C cable, and valve adapters, but no wall adapter. You will use any standard USB phone charger that outputs at least 5V 2A.
Q: How do I know when the Airmoto battery is fully charged?
The LED ring around the power button turns solid green when the charge is complete. It shows solid red while charging and blinking red when the battery drops below 10 percent.
More Smart Gadgets Articles
Related Product Reviews



Consumer electronics reviewer specializing in smart gadgets and everyday tech. Tests 100+ gadgets annually. Previously wrote for The Verge and Wired. Focus on practical daily-use value.