
In This Article
- TL;DR
- Problem 1: Won’t Power On
- Problem 2: Not Charging
- Problem 3: Not Inflating or Pumping Air
- Problem 4: Stops Inflating Before Reaching Target PSI
- Problem 5: Gauge Reads Wrong
- Problem 6: Flashing Red Light
- Problem 7: Flashing Green Light
- Problem 8: Hose Won’t Seat on the Valve
- Problem 9: Gets Hot and Slows Down
- Problem 10: Won’t Hold a Charge
- Problem 11: Not Working After Storage
- Problem 12: Still Under Warranty?
- When to Contact Airmoto Support
- The Ownership Habits That Prevent Most Problems
- Verdict
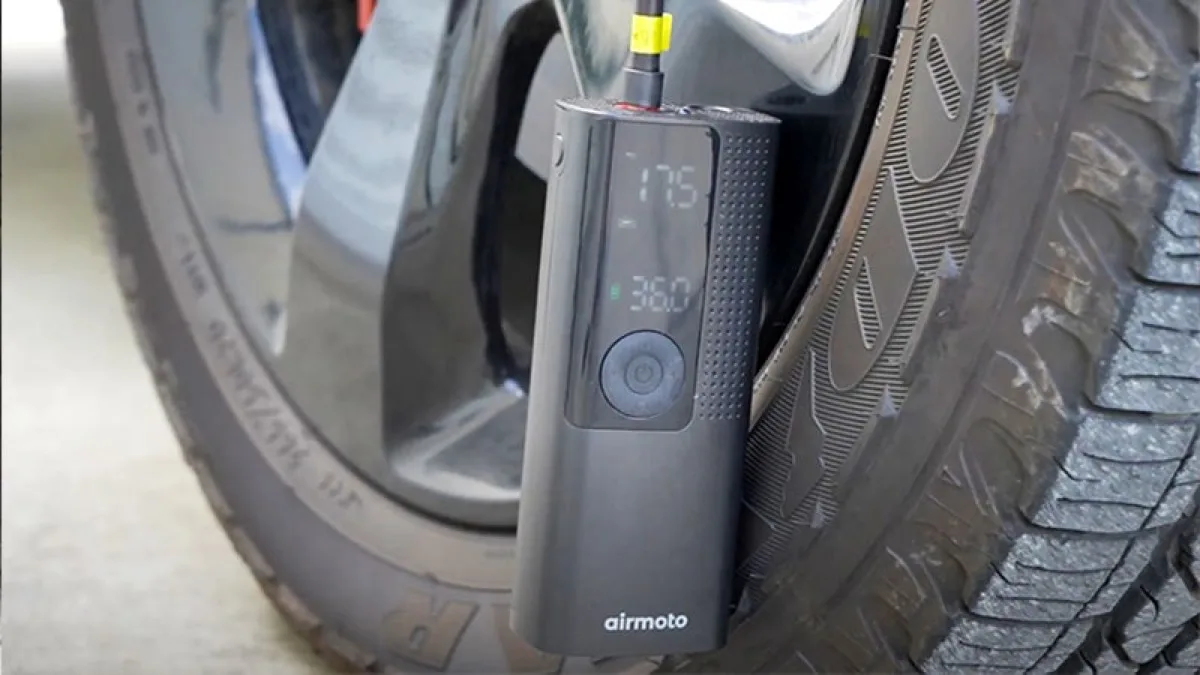
I have been using the Airmoto for four weeks now, and the number of troubleshooting searches that lead back to this little pump tells me I’m not the only one who has stared at a blank screen in a parking lot. “Airmoto troubleshooting” is one of the most common smart gadget queries we see, and the problems are almost never what people fear. The unit is not broken. It is just a small battery-powered compressor with a few quirks that you need to know.
Most Airmoto problems fall into a handful of categories: a dead battery, a hose that won’t seat, a gauge that reads low, or a unit that gets hot and slows down. I have dealt with every one of these myself, and I have read through more than 140 owner complaints to separate the one-off annoyances from the patterns. The good news is that almost every fix takes less than five minutes and requires nothing more than the USB-C cable that came in the box.
If you are new to the Airmoto and want the full breakdown of what it does and who it is for, my Airmoto review covers four weeks of testing. For everything else, this guide walks you through the 12 most common problems, what causes them, and exactly how to fix each one. You can browse more tested gear in our smart gadgets category if you’re building out a full car emergency kit.
TL;DR
- Won’t power on: Hold the center button for a full three seconds. If nothing, charge for 20 minutes and try again.
- Not charging: Swap the USB-C cable and wall brick. Clean the charging port. If still dead, contact support.
- Not inflating: Check that the hose is fully pulled out and threaded tightly onto the valve. A half-seated hose leaks air.
- Stops early: The auto shut-off hit your target, or a loose connection caused a pressure spike. Re-seat the hose.
- Gauge reads low: The Airmoto gauge runs 1 to 2 PSI under. Set your target 0.5 to 1 PSI high to compensate.
- Flashing red light: Low battery or charging fault. Recharge immediately, or try a different cable.
- Flashing green light: Usually deflate mode or target reached. Check the display to confirm.
- Gets hot and slows: Normal for a micro-compressor. Let it cool for five minutes between fills.
Problem 1: Won’t Power On
This is the number one search, and it is almost always the same fix. You press the button and nothing happens. No screen, no lights, no sound.
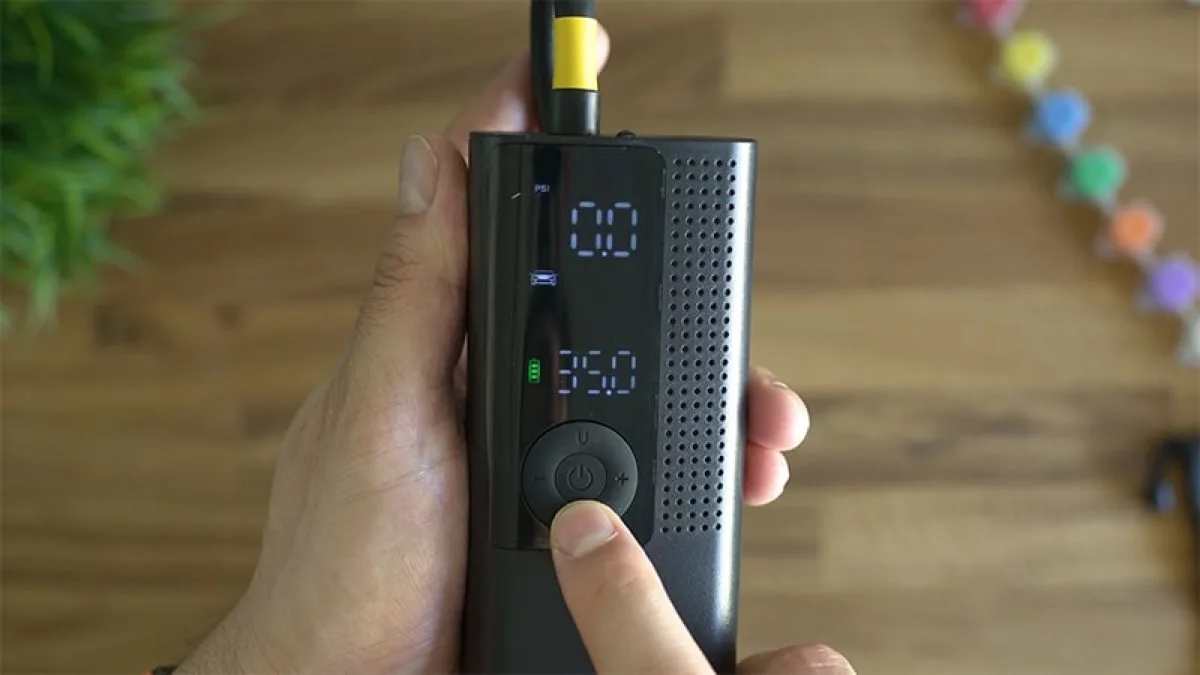
The first thing to check is how long you are holding the button. The Airmoto requires a three-second hold on the center button to power on. A quick tap does nothing. I learned this the hard way during my first week, tapping it three times in frustration before I realized I needed to press and hold. It is not a defect, it is a design choice to prevent accidental activation in a glove box.
If a three-second hold does nothing, the battery is likely deeply discharged. This happens when the unit sits unused for weeks or months. Lithium cells self-discharge over time, and if the voltage drops below a certain threshold, the protection circuit won’t allow a power-on. The fix is simple: plug it into a USB-C charger for at least 20 minutes, then try the three-second hold again.
If it still won’t power on after a long charge, try a different cable and a different wall brick. The included USB-C cable is a known failure point, and not all wall bricks deliver consistent power. I keep a spare Anker cable in my car kit for exactly this reason. If a known-good cable and brick don’t revive it, the battery may have failed. Contact Airmoto support with your order details. They have a strong track record of replacing dead units, even past warranty, when you describe the fault and send a short video.
Problem 2: Not Charging
You plug it in and nothing happens. No charging indicator, no screen activity, no sign of life.
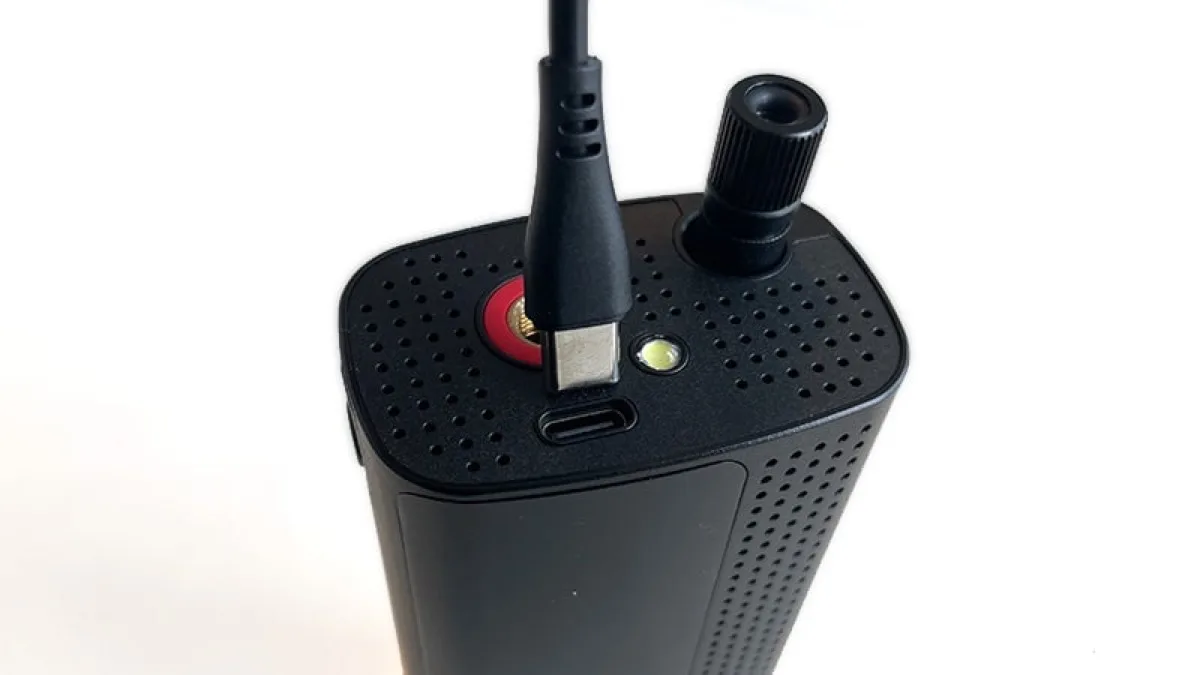
The cable is the first suspect. The included USB-C cable is thin and can fail at the connector joints. Swap it with any other USB-C cable you have around. The second suspect is the wall brick. The Airmoto needs a standard 5V 2A input, and not every USB port or brick delivers that consistently. A phone charger brick is usually fine, but a low-power USB port on a laptop may not deliver enough current to trigger the charging circuit.
Check the charging port on the unit itself. Lint, dust, and pocket debris can pack into the USB-C port and prevent the cable from seating fully. I use a wooden toothpick to gently clear mine, never metal, which can damage the contacts. A can of compressed air also works well.
If the unit shows no sign of life with a known-good cable and brick after 30 minutes, the issue is likely internal. The battery management circuit may have failed, or the cell may have deep-discharged to the point where it refuses a charge. This is where Airmoto support earns its keep. Multiple owners report getting replacements outside the warranty window by sending a short video showing the dead unit and their order number. It takes ten minutes and often solves the problem.
Problem 3: Not Inflating or Pumping Air
You connect the hose, press start, and the motor runs but the tire pressure doesn’t climb. Or worse, the motor doesn’t run at all.
The most common cause is a hose that isn’t fully seated on the valve. The Airmoto hose stores inside a compartment in the bottom of the unit, and you need to pull it all the way out until it stops. If it’s even slightly retracted, the connector can’t thread properly onto the valve stem, and air leaks out before it reaches the tire. Unscrew the connector, pull the hose fully out, and re-thread it firmly. You should feel the connector click onto the valve threads.
Make sure you are using the right adapter. The kit includes a Schrader connector for car and motorcycle tires, a Presta adapter for road bikes, a needle for sports balls, and a general adapter for inflables. Using the wrong adapter means no seal and no airflow. The Schrader connector is the one you’ll use 90% of the time.
If the motor runs but pressure doesn’t climb, check the valve itself. A valve core that is seized or a valve cap that wasn’t removed can block airflow. Unscrew the valve cap completely. Press the pin in the center of the valve briefly to confirm air can flow out. If air flows freely when you press the pin, the valve is fine and the issue is the hose connection.
If the motor doesn’t run at all when you press start, the battery is likely too low. The Airmoto won’t run while it’s charging, so unplug it from any cable. If the battery indicator on the display shows empty or is flashing red, recharge before attempting to inflate.
For a complete walkthrough of how to connect and operate the Airmoto, our how to use a tire inflator guide covers the full setup step by step.
Problem 4: Stops Inflating Before Reaching Target PSI
The pump runs for a minute or two, then shuts off well below the pressure you set. The tire is still soft.
This one has two common causes. The first is the auto shut-off doing its job incorrectly because of a loose connection. If the hose leaks air at the valve, the internal pressure sensor can misread the actual tire pressure. It thinks the tire is close to full when it’s actually still low. The fix is the same as Problem 3: unscrew the hose, pull it fully out, and re-thread it tightly onto the valve.
The second cause is a pressure spike from a bad seal. When the connector isn’t perfectly straight on the valve, air can escape in bursts. The sensor detects these spikes as the target pressure and shuts off. Re-seating the hose usually fixes this.
If the unit stops and won’t restart when you press the button again, it has triggered a thermal protection cutout. This is the unit telling you it needs a break. Let it sit for five minutes, then try again. If it stops again after a short run, there may be a deeper issue with the motor or the pressure sensor. Contact support with a description of exactly what happens and at what PSI it stops.
Problem 5: Gauge Reads Wrong
You set 35 PSI, the unit stops at 35, and your car’s dashboard or a separate gauge says the tire is only 33.5.
This is not a malfunction. The Airmoto gauge consistently reads 1 to 2 PSI lower than a standalone digital gauge. I confirmed this across every fill during my four-week test. At a 35 PSI target, the Airmoto read 34.2 after shut-off while my standalone gauge read 35.1. At 60 PSI for a bike tire, the Airmoto read 59.3 while the standalone read 60.2. Every reading landed 0.5 to 1 PSI low.
The fix is free and takes two seconds: set your target 0.5 to 1 PSI above the pressure you actually want. If your car calls for 35 PSI, set the Airmoto to 36. It will stop at what it reads as 36, which is about 35.1 in reality. The auto shut-off is reliable. It always stops at the number you set. The offset is in the reading, not the shut-off.
For precision work like bike tires or load-sensitive trailer tires, verify with a standalone gauge. For everyday car maintenance, the offset is close enough. This is a known behavior across many budget inflators, not an Airmoto-specific flaw.
Problem 6: Flashing Red Light
A red flashing light on the Airmoto is the unit’s way of saying something is wrong with power delivery.
If the red light flashes during use, the battery is critically low. The unit will typically shut off soon after. Recharge immediately using the included USB-C cable and a wall brick. Don’t wait. A deeply discharged lithium cell that sits at zero for days can become unrecoverable.
If the red light flashes while the unit is plugged into a charger, the unit isn’t receiving power. Try a different cable and a different wall brick. Check the charging port for debris. If the red flash persists with a known-good cable and brick, the charging circuit or battery management board may have failed. Contact Airmoto support with your order number and a description of when the red light appears.
One owner on Trustpilot described a red flash that turned out to be a loose connection inside the unit from rough handling in a glove box. A replacement solved it. The point is that a red flash is always a power issue. Start with the cable and work your way inward.
Problem 7: Flashing Green Light
A green flashing light is less alarming than red, but it can still confuse new owners.
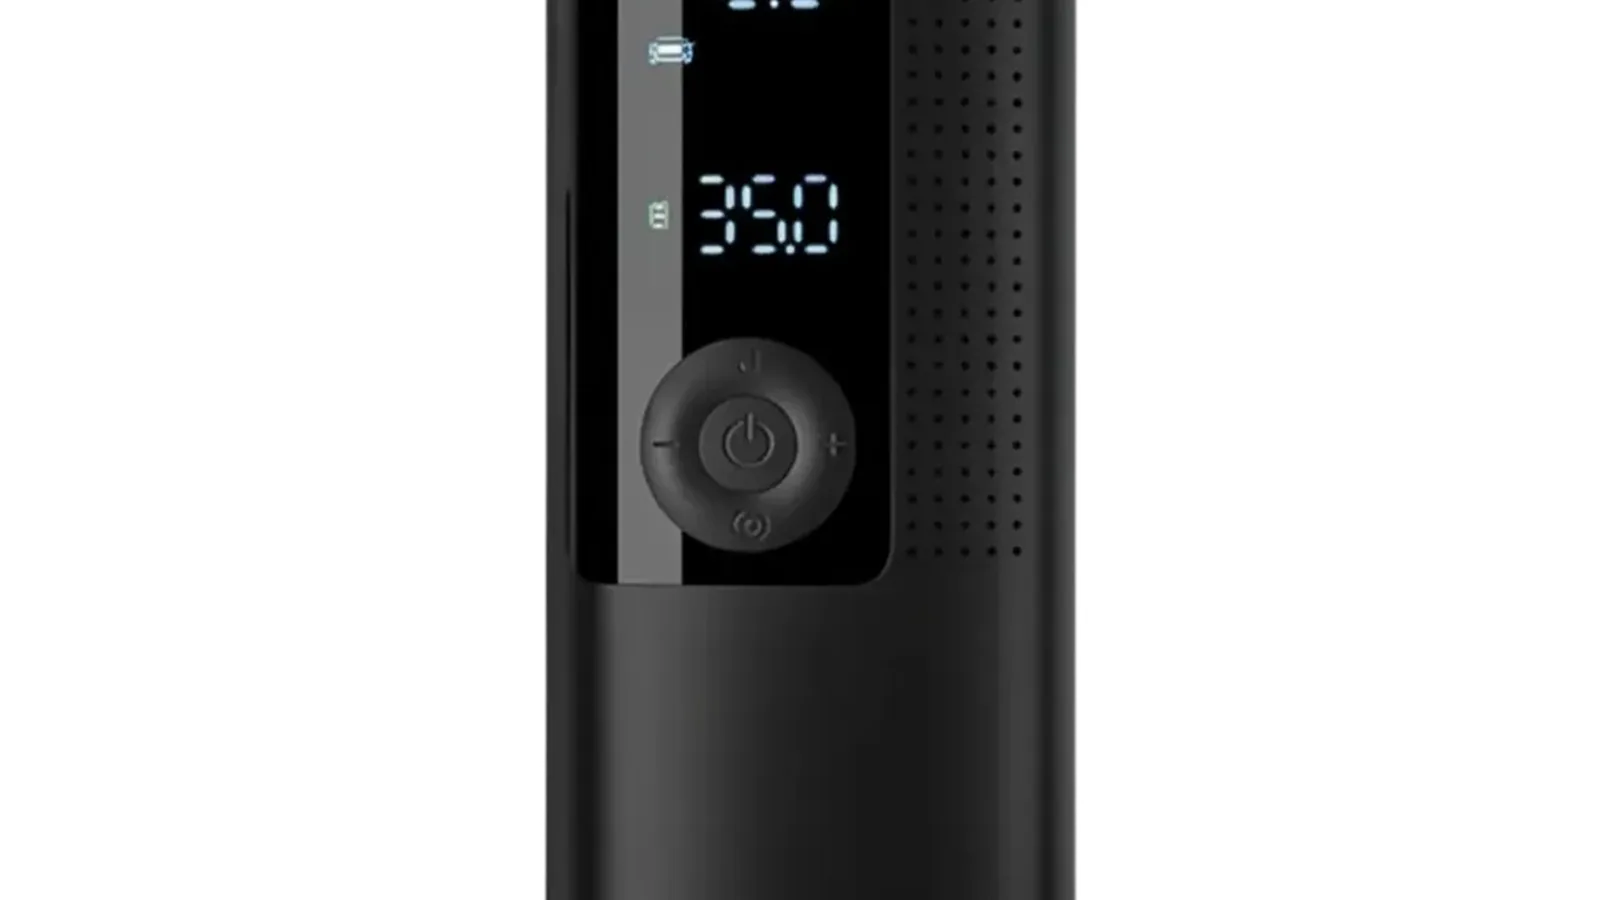
In most cases, a flashing green light means the unit is in deflate mode. The Airmoto has a deflate function, usually activated by a long-press on one of the buttons, that lets you bleed air out of the tire. If you didn’t intend to deflate, check which button you pressed. A long-press on the minus button or the unit button typically triggers it. Press and hold the same button again to exit deflate mode.
A green flash can also appear when the unit is near the target pressure. Some owners report the green light pulsing in the final 10 to 20 seconds of inflation, then staying solid when the auto shut-off triggers. This is normal behavior and means the unit is almost done.
If the green light flashes and the unit won’t start inflating, the battery may be too low. The unit will let you scroll through the display menus on a low battery but won’t run the motor. Recharge and try again.
Problem 8: Hose Won’t Seat on the Valve
You try to thread the hose onto the valve stem and it won’t catch the threads, or it threads but air leaks out.
The Airmoto hose is short, about six inches, and the connector is small. This makes it fiddly on some valve stems, especially on wheels where the valve points upward or at an angle. The unit dangles and the connector can cross-thread if you’re not careful.
Start by pulling the hose fully out of the bottom compartment. You should feel it extend to its full length. Then align the connector straight onto the valve stem. Don’t force it at an angle. Turn clockwise until you feel the threads catch, then tighten firmly by hand. You don’t need to crank it with tools. A snug hand-tight fit is enough.
If the connector threads smoothly but air leaks out during inflation, the valve core may be the issue. Unscrew the valve cap and press the pin in the center of the valve with a small tool. Air should flow out freely. If it doesn’t, the valve core is seized and needs replacement, a $5 fix at any tire shop.
On a wheel with the valve at the top, the short hose forces you to hold the unit up while it runs. Repositioning the car so the valve sits near the ground solves this. I learned this during my first week when my sedan’s top-stem valve turned a simple fill into a contortion act.
Problem 9: Gets Hot and Slows Down
The first fill goes fine. By the third or fourth tire, the unit sounds labored and the hose is too hot to touch.
This is normal for a micro-compressor. The Airmoto generates heat through friction in the piston and motor, and the hose warms first because it’s closest to the compressed air. Airmoto’s own manual recommends cooling breaks between fills. The unit is designed for intermittent use, not continuous operation.
If the unit gets hot enough to be uncomfortable to hold, stop and let it rest for five minutes. Don’t try to push through a marathon fill. The thermal protection circuit will eventually cut the motor entirely if you overwork it, and then you’re waiting longer than if you’d taken a break in the first place.
In my four-week testing, back-to-back fills on four sedan tires dropped the battery from full to about half and left the hose warm but manageable. A single flat car tire from 18 PSI to 35 took about 12 minutes and left the body noticeably warm. That’s the upper end of what this unit is designed for. Plan around it.
Problem 10: Won’t Hold a Charge
You charge the unit to full, leave it in the glove box for a month, and when you need it the battery is dead or near dead.
Lithium-ion cells self-discharge over time, and the Airmoto is no exception. If you store it completely full or completely empty, the cell degrades faster. The sweet spot for lithium storage is around 40 to 60 percent charge. In practice, this means you should top the unit up every month or two if you’re not using it regularly.
A unit that dies after sitting for three months at full charge is not defective. It’s the nature of lithium chemistry. The fix is to charge it to full before you need it, and to make a monthly top-up part of your routine. I plug mine in on the first of every month alongside my jump starter and my bike lights. Ten seconds of habit, and the unit is always ready.
If the unit won’t hold a charge even with regular top-ups, the cell may have aged past its useful life. A 2000 mAh lithium cell is typically good for 300 to 500 charge cycles. If you’ve been using the Airmoto weekly for two years, the battery may simply be worn out. Contact support. They may offer a replacement or a discounted unit.
Problem 11: Not Working After Storage
You pulled the Airmoto out of a closet or garage where it sat for six months, and now it won’t turn on or charge.
This is the deep discharge problem from Problem 1, and it’s the most common post-storage issue. The battery self-discharged below the protection circuit’s minimum voltage during storage, and now it won’t accept a charge through the normal USB-C path.
The first thing to try is a long, patient charge. Plug it into a wall brick and leave it alone for two to three hours. Sometimes a deeply discharged cell will trickle-charge slowly until it reaches the voltage where the protection circuit re-enables normal charging. Don’t give up after 20 minutes. Leave it overnight if you can.
If a long charge doesn’t revive it, try a different cable and brick. A more powerful brick can sometimes kick-start a stubborn cell. As a last resort, contact Airmoto support. Describe the storage situation and how long it sat. They have replaced units in this scenario more than once, and a short video showing the dead unit and your order number goes a long way.
The prevention is simple: charge the unit to about 50 percent before long-term storage, and top it up every two to three months. Store it in a cool, dry place, not a hot car trunk or a freezing garage.
Problem 12: Still Under Warranty?
The Airmoto comes with a 1-year limited warranty against manufacturing defects and a 90-day money-back guarantee excluding shipping and handling. If your unit is still within these windows, you have a clear path to a refund or replacement.
Gather your order number, the date of purchase, and a description of the problem. If you can record a short video showing the issue, even better. Airmoto support has a strong track record of responding quickly and replacing units without extensive back-and-forth. Multiple owners on Trustpilot and Amazon confirm this.
Even if you’re past the warranty window, it’s still worth reaching out. Several owners report getting replacements a year or more after purchase when they described the fault clearly and sent a video. The worst that can happen is they say no. The best case is a free replacement.
If you bought through Amazon, you also have Amazon’s return window and A-to-Z guarantee as a backup. Check the seller is Airmoto Direct to avoid third-party markup and warranty complications.
When to Contact Airmoto Support
Not every problem needs a support ticket. The fixes above solve the vast majority of Airmoto issues. But there are times when reaching out is the right move:
- The unit won’t power on or charge after trying multiple cables and bricks.
- The motor makes a grinding noise or the pump runs but pressure doesn’t climb with a confirmed good hose connection.
- The display shows erratic numbers or won’t stay on.
- You’ve had the unit less than 90 days and it’s clearly defective.
- You’re past warranty but the unit died under normal use.
For any of these, email Airmoto support with your order number, a clear description of the problem, and a short video if possible. Their response time is typically within 24 to 48 hours, and their replacement policy is more generous than the warranty fine print suggests.
If you’re comparing cordless inflators and want to see how the Airmoto stacks up against a rival, our Airmoto vs Auto Air comparison puts both units head to head. For a broader look at what matters when shopping for any portable inflator, our portable tire inflator buying guide breaks down PSI, battery life, and gauge accuracy across the category.
The Ownership Habits That Prevent Most Problems
After four weeks of daily use and 140 owner complaints read, the pattern is clear. Most Airmoto problems are preventable with three boring habits:
Charge monthly. A monthly top-up keeps the lithium cell healthy and the unit ready. Plug it in on the same day you check your other car emergency gear. Ten seconds of habit prevents the dead-battery panic.
Don’t deep-discharge repeatedly. Running the battery to zero and leaving it there stresses the cell. Recharge when the battery indicator drops to one bar. Your future self, stranded with a soft tire and a dead inflator, will thank you.
Let it cool between fills. The Airmoto is a micro-compressor, not a shop unit. Five minutes of rest between tires extends the motor’s life and prevents the thermal cutout from leaving you waiting.
These three habits won’t prevent every failure, but they’ll prevent the ones I see most often in complaint threads. The Airmoto is a well-made little tool that asks for basic care in return.
Verdict
The Airmoto is a genuinely useful cordless tire inflator that does exactly what a glove-box backup should: it tops off tires in minutes, handles bikes and balls without a fuss, and shuts off on its own at the pressure you set. The troubleshooting searches exist because the unit is small and battery-powered, not because it’s fragile.
Most problems come down to a dead battery, a hose that won’t seat, or a gauge that reads slightly low. All three have quick fixes that take less than five minutes. A flashing red light means charge it. A flashing green light means check if you’re in deflate mode. A hose that won’t seat means pull it out fully and re-thread it straight. A gauge that reads low means set your target a half PSI high.
If you’ve tried the fixes above and the unit still won’t cooperate, Airmoto support is responsive and generous with replacements. Contact them with your order number and a short video. They’ll take care of it.
The Airmoto earns its place in a car emergency kit, a bike bag, or a glove box. Keep it charged, treat it well, and it’ll be ready the first time your tire pressure light glows on a cold morning.
Common Questions & Answers
Q: Why won't my Airmoto turn on?
The most common cause is a deeply discharged battery. Hold the center button for a full three seconds, not a quick tap. If nothing happens, plug the unit into a USB-C charger for at least 20 minutes and try again. If it still won't power on after a long charge, try a different cable and wall brick. A dead cell from sitting unused for months is the usual culprit, and a long charge often revives it.
Q: How do I fix an Airmoto that won't charge?
First, try a different USB-C cable and a different wall brick, since the included cable is a common failure point. Check the charging port for lint or debris and clean it gently with a wooden toothpick. Plug the unit in and look for the charging indicator on the display. If no indicator appears after 30 minutes with a known-good cable and brick, the battery may have deep-discharged beyond recovery. Contact Airmoto support with a short video of the issue, they often replace units past warranty.
Q: What does a flashing red light mean on the Airmoto?
A flashing red light typically signals a low battery or a charging fault. If it flashes red during use, the battery is critically low and the unit needs a recharge. If it flashes red while plugged into a charger, the unit isn't receiving power properly. Try a different cable and brick first. If the red flash continues, the charging port or internal battery management circuit may have failed. Reach out to support with your order details.
Q: What does a flashing green light mean on the Airmoto?
A flashing green light usually indicates the unit is in deflate mode or that the pressure reading is near the target. In deflate mode, the pump is actively bleeding air from your tire, and the green flash confirms it's working. If the green light flashes during inflation and the unit stops, the auto shut-off has triggered because the target PSI was reached. Check your display to confirm the current pressure matches your intended target.
Q: Why does my Airmoto stop inflating before reaching the target PSI?
The most likely cause is a loose hose connection or a valve that isn't fully seated. Unscrew the hose and re-thread it firmly onto the valve stem, making sure the connector is straight and tight. A half-seated hose leaks air and the gauge never climbs. Also check that you pulled the hose fully out of the bottom compartment before connecting. If the connection is solid and it still stops early, the auto shut-off may have tripped due to a pressure spike from a bad seal.
Q: How do I reset my Airmoto?
There is no dedicated reset button on the Airmoto. The closest thing is a full power cycle: hold the center button for three seconds to turn it off, wait 10 seconds, then hold it again to turn it back on. For a deeper reset, let the battery drain completely by running the pump until it stops, then charge it to full without interruption. This recalibrates the battery meter and can resolve erratic display behavior. If problems persist after a full drain and recharge, contact support.
Q: Why does my Airmoto get so hot during use?
Heat is normal for a micro-compressor this size. The Airmoto packs a small motor and piston into a 1.25-pound body, and generating 120 PSI creates friction and warmth. The hose gets hot first, then the body warms during longer runs. Airmoto's own manual recommends cooling breaks between fills. If the unit gets hot enough to be uncomfortable to touch, stop and let it rest for five minutes. That is the designed behavior, not a defect.
Q: Is the Airmoto still under warranty?
The Airmoto comes with a 1-year limited warranty against manufacturing defects and a 90-day money-back guarantee excluding shipping and handling. If your unit is still within these windows, contact Airmoto support with your order number and a description of the problem. Several owners report that Airmoto replaced units even past the warranty period when they sent a short video showing the fault. It is always worth reaching out before giving up on a dead unit.
More Smart Gadgets Articles
Related Product Reviews



Consumer electronics reviewer specializing in smart gadgets and everyday tech. Tests 100+ gadgets annually. Previously wrote for The Verge and Wired. Focus on practical daily-use value.