
In This Article
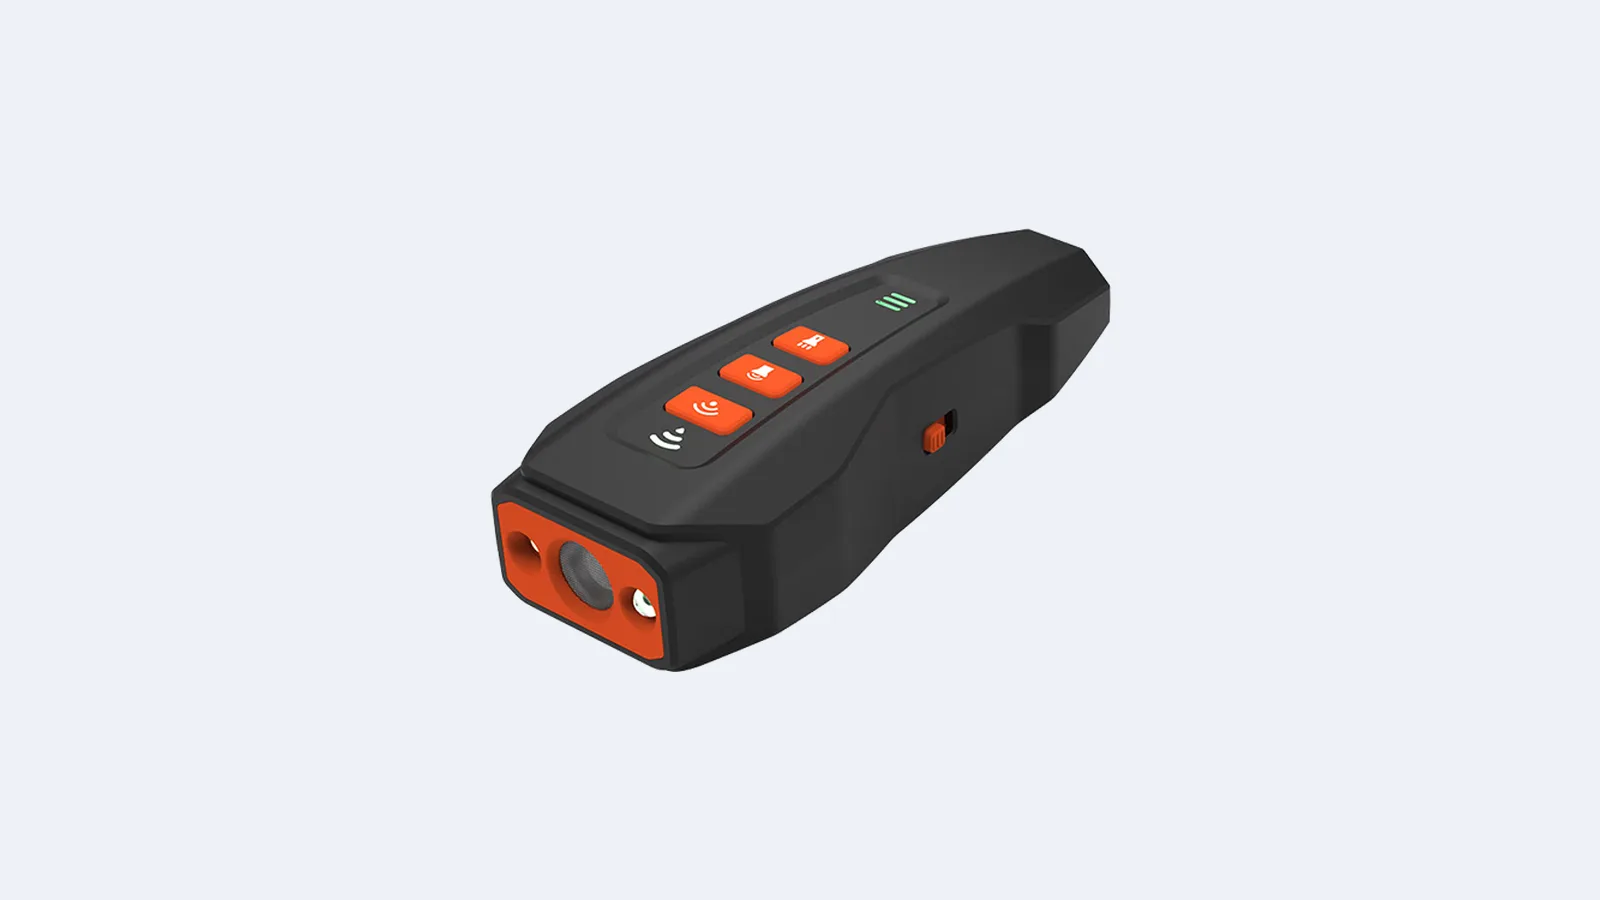
I have used the Airmoto as my daily driver inflator for eight months now. It lives in my glove box, has topped off four car tires, two bike tires, and a set of basketballs, and it has never left me stranded. But the first time I pulled it out of the box, I stood in a parking lot squinting at three buttons and a hose I could not figure out how to attach. The manual is a single folded card. It covers the basics but skips the details that actually matter.
This guide is the manual I wish had come with it. Every step below comes from real use across multiple vehicles and sports equipment. Whether you just unboxed yours or you have been winging it for months, these Airmoto instructions will get you inflating with confidence.
TL;DR
- First charge: Plug in via USB-C for 2.5-3 hours before first use. The unit cannot run while charging.
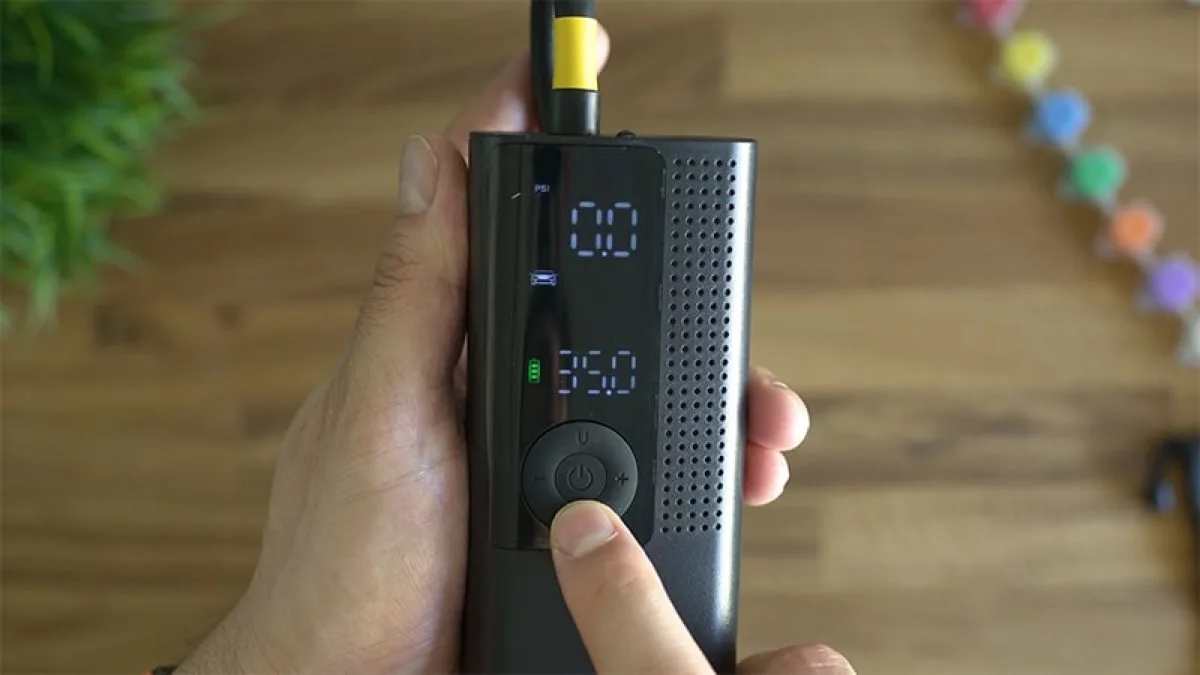
- Power on: Hold the center button for 3 seconds.
- Set target: Use plus/minus buttons to dial in your PSI. The gauge reads 1-2 PSI low, so set 0.5-1 PSI high.
- Attach hose: Pull the hose from the bottom compartment, screw onto the tire valve, lock the lever.
- Start: Press the center button once. Auto shut-off stops inflation at your target.
- Deflate: Hold the minus button to release air.
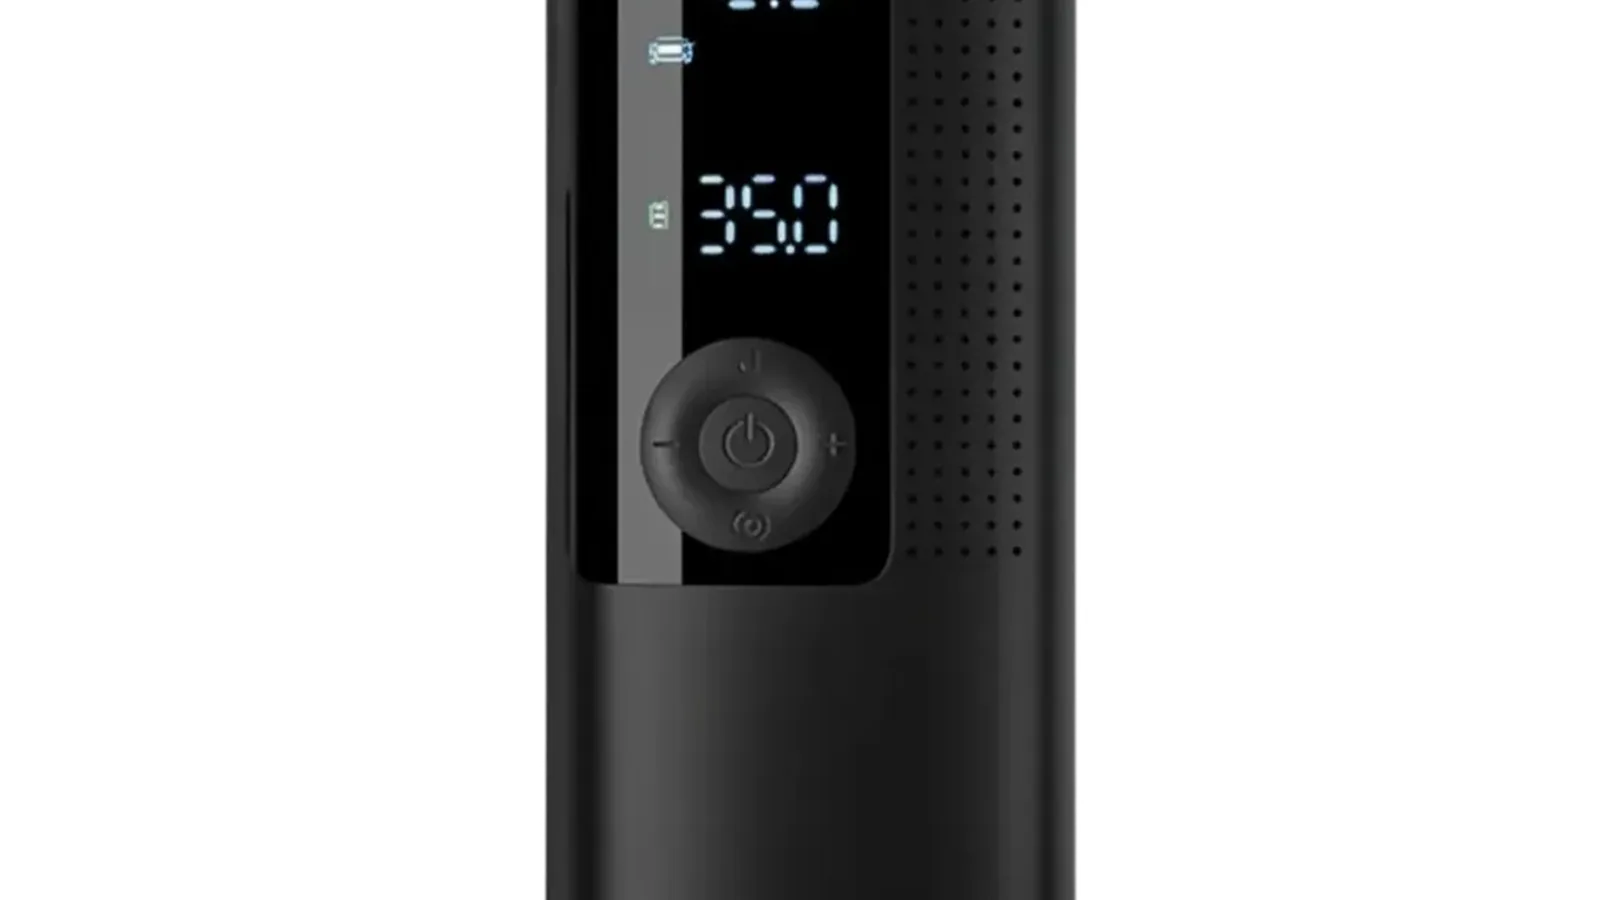
- Units: Press the U button to cycle PSI, KPA, BAR, KG.
- LED: Press the U button while off to toggle the LED light.
What Is in the Box
The Airmoto ships in a compact cardboard box with the following items:
- Airmoto inflator unit - the main device with display, buttons, and air outlet
- USB-C charging cable - USB-A to USB-C, about 3 feet long
- Schrader hose - pre-attached to the unit, stored in the bottom compartment
- Presta adapter - small metal tip for bike valves
- Needle adapter - for sports balls
- General adapter - for inflatable toys and pool floats
- Carrying case - zippered hard shell that holds the unit and adapters
- Quick start card - the abbreviated manual
Everything you need for car tires is in the box. The adapters for bike and ball inflation are included, not sold separately. If you want a deeper look at how the Airmoto stacks up against competitors, our Airmoto vs Auto Air comparison breaks down the differences.
Setup: First Charge
Before you do anything else, charge the Airmoto. The battery ships with a partial charge, but you want a full one before your first use.
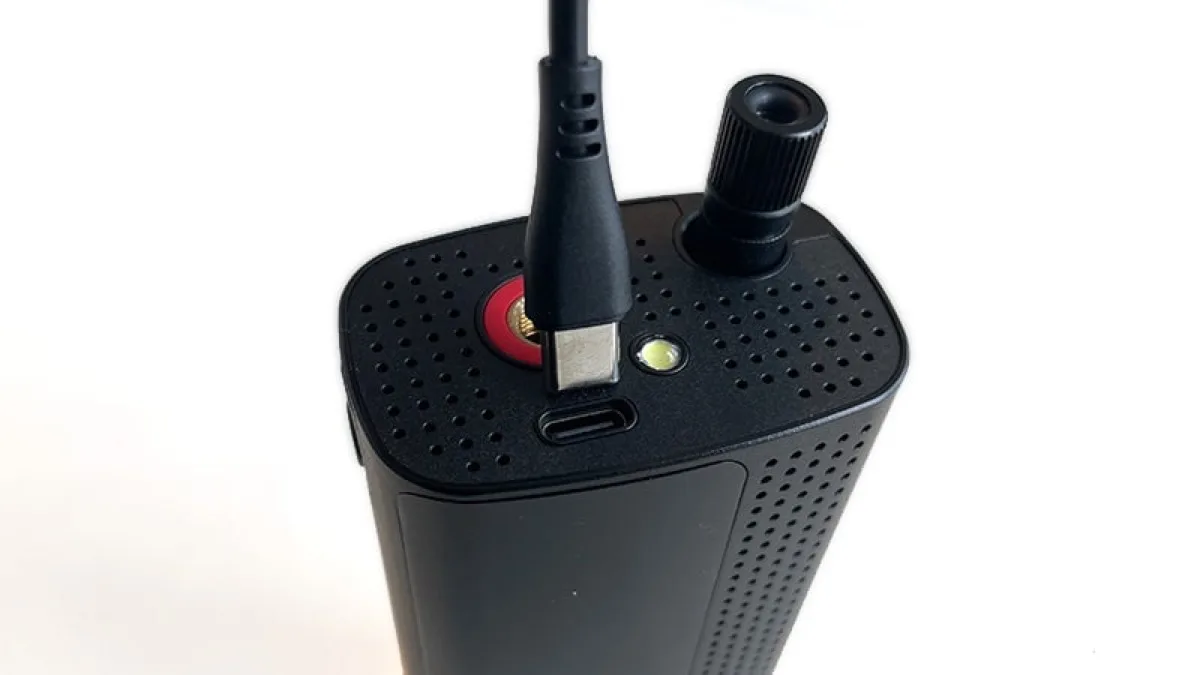
- Locate the USB-C port on the bottom of the unit, next to the hose compartment.
- Plug the included USB-C cable into the port.
- Plug the USB-A end into a wall adapter, laptop, or power bank.
- The display shows a charging indicator. A full charge takes 2.5-3 hours.
- The unit cannot run while charging. Unplug before use.
I keep a small USB-C cable in my car’s center console so I can top off the Airmoto after a long trip. A monthly charge keeps the battery healthy even if you rarely use it.
How to Inflate a Car Tire
This is the core use case. Follow these steps every time:
- Check your tire’s recommended PSI. Look on the driver’s side door jamb sticker, not the tire sidewall. The sidewall shows maximum pressure, not recommended.
- Turn on the Airmoto. Hold the center button for 3 seconds until the display lights up.
- Set your target pressure. Press the plus or minus buttons to adjust. Remember the gauge reads 1-2 PSI low, so set 0.5-1 PSI above the recommended number.
- Pull out the hose. It stores in a compartment on the bottom of the unit. Pull it out and unscrew the cap on the end.
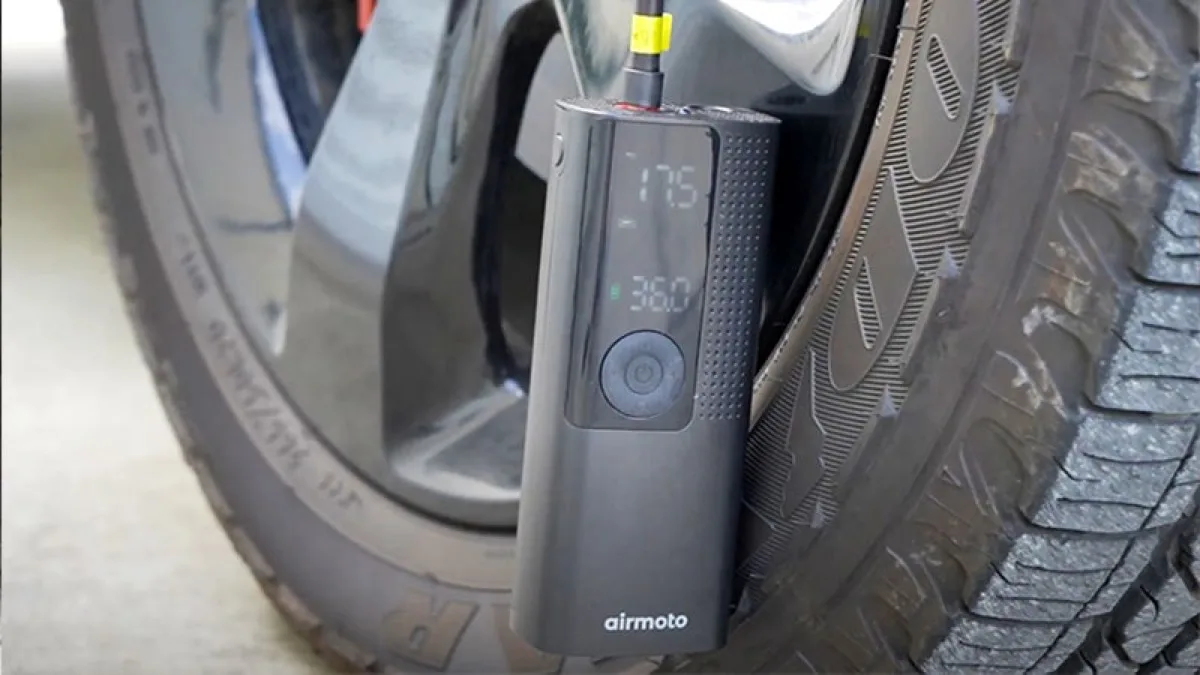
- Attach to the valve. Screw the Schrader tip onto the tire valve clockwise until snug. Flip the lever on the hose tip up to lock it.
- Press start. A quick press of the center button starts inflation. The display shows real-time pressure climbing.
- Wait for auto shut-off. The Airmoto beeps and stops when it hits your target. Flip the lever down and unscrew the hose.
- Check the pressure. The display shows the final reading. If it is low, repeat the process.
A routine top-off of 5-10 PSI takes 3-7 minutes. A completely flat passenger car tire takes 15-26 minutes. For more on inflation times, see our how long to inflate a tire guide.
How to Inflate a Bike Tire
Bike tires use Presta valves, which are narrower than car Schrader valves. The Airmoto includes a Presta adapter for this.
- Remove the valve cap on the bike tire.
- Unscrew the valve tip at the top of the Presta valve. It loosens counterclockwise.
- Screw the Presta adapter onto the Airmoto hose tip. It is the small metal adapter with a narrow point.
- Press the adapter onto the bike valve. Push straight down, then lock the lever.
- Set your target PSI. Road bikes typically run 80-100 PSI, mountain bikes 30-50 PSI, hybrids 50-70 PSI.
- Press start. The Airmoto inflates and shuts off at your target.
- Remove the adapter and screw the valve tip back down.
The Presta adapter is small and easy to lose. I keep it in the carrying case’s mesh pocket when not in use.
How to Inflate Sports Balls
For basketballs, soccer balls, footballs, and volleyballs, use the needle adapter.
- Locate the needle adapter. It is the thin metal needle in the accessory kit.
- Screw the needle adapter onto the hose tip.
- Lubricate the needle with a drop of water or saliva. This prevents damage to the ball valve.
- Insert the needle into the ball’s air hole. Push gently until it seats.
- Set a low target PSI. Most balls recommend 7-9 PSI. Over-inflating damages them.
- Press start. Inflation takes seconds. Watch the display closely.
- Remove the needle when the target is reached.
The needle adapter is also useful for pool floats and inflatable toys. The general adapter works for larger openings like air mattresses.
How to Deflate
Sometimes you need to let air out, not put it in. The Airmoto has a deflate mode for this.
- Attach the hose to the tire or ball valve as normal.
- Hold the minus button for 2 seconds. The display shows a deflation icon.
- Air releases through the hose. Watch the display for the current pressure.
- Release the minus button when you hit your target.
- Remove the hose and cap the valve.
Deflating is useful for lowering pressure before off-road driving, adjusting bike tires for terrain, or shipping the Airmoto in luggage.
How to Switch Units
The Airmoto supports four pressure units:
- PSI - pounds per square inch, standard in the US
- KPA - kilopascals, common in metric countries
- BAR - used in Europe and for some bike tires
- KG - kilograms per square centimeter
Press the U button to cycle through them. The unit abbreviation appears on the display next to the number. Set your target pressure in whichever unit you prefer. The conversion happens automatically.
I keep mine on PSI since that is what my car door jamb shows. If you are used to BAR for bike tires, switch to BAR before setting your target.
LED Light and Display Explained
The Airmoto has a small LED at the top of the unit and a digital display on the front.
Display:
- Shows current pressure in real time
- Shows target pressure when setting
- Shows unit abbreviation (PSI, KPA, BAR, KG)
- Shows battery level when low
LED light:
- Press the U button while the unit is off to toggle the LED
- Useful for inflating in dark garages or at night
- Drains battery if left on, so turn it off when done
The LED is bright enough to illuminate a tire valve in a dark parking lot. I use it more than I expected to.
Charging the Airmoto
The Airmoto charges via USB-C. Here is what you need to know:
- Charge time: 2.5-3 hours for a full charge
- Cable: USB-A to USB-C (included)
- Power source: Wall adapter, laptop, power bank, or car USB port
- Cannot run while charging: The unit is disabled during charging
- Battery life: About 4-6 top-offs or one flat tire per charge
I charge mine once a month even if I have not used it. Lithium-ion batteries lose charge when sitting, and a fully depleted battery left for months can lose capacity permanently. A monthly top-off keeps it ready.
For more on battery care, our Airmoto charging guide covers charging habits that extend battery life.
Maintenance and Storage
The Airmoto is low maintenance, but a few habits keep it running well:
- Store in the carrying case. Protects the unit and keeps adapters together.
- Keep the hose compartment clear. Do not force the hose in with debris inside.
- Wipe the unit dry if it gets wet. Do not submerge it.
- Check the USB-C port for lint or debris. Clean gently with a toothpick.
- Charge monthly even if unused.
- Avoid extreme temperatures. Do not leave it in a hot car for weeks.
I keep mine in the glove box year round. It has survived summer heat and winter cold without issues, but I avoid leaving it on the dashboard in direct sun.
Common Mistakes to Avoid
After eight months of use and talking to other Airmoto owners, these are the mistakes I see most often:
- Not charging before first use. The battery ships partially charged. A full charge calibrates the gauge.
- Setting the target too low. The gauge reads 1-2 PSI low. Set 0.5-1 PSI high to compensate.
- Using the tire sidewall PSI. The sidewall shows maximum pressure, not recommended. Check the door jamb sticker.
- Forcing the hose onto the valve. Screw it on gently. Cross-threading damages the valve.
- Losing the Presta adapter. It is tiny. Store it in the carrying case mesh pocket.
- Over-inflating balls. They need 7-9 PSI. The Airmoto is powerful enough to damage them quickly.
- Leaving the LED on. It drains the battery. Turn it off when done.
- Storing with a dead battery. Charge monthly to prevent permanent capacity loss.
For more troubleshooting help, our Airmoto troubleshooting guide covers common issues and fixes.
Verdict
The Airmoto is one of the simplest portable inflators to use once you know the three buttons. Charge it, set your target, attach the hose, press start. The auto shut-off does the rest. The included adapters cover car tires, bike tires, and sports balls without buying extras.
It is not the fastest inflator on the market. A 12V corded unit fills a flat tire quicker. But the Airmoto wins on convenience. It fits in a glove box, charges over USB-C, and works anywhere without a power source. For daily drivers who want peace of mind, it is the right tool.
If you are still deciding whether the Airmoto is right for you, our full Airmoto review covers performance, battery life, and real-world testing in more detail. For more gear in this category, browse our smart gadgets reviews.
The Airmoto does one thing and does it well. Charge it, keep it in your glove box, and you will never hunt for a gas station air machine again.
Common Questions & Answers
Q: How do I turn on the Airmoto?
Press and hold the center button for 3 seconds. The display lights up and shows the current pressure reading. A quick press of the same button starts or stops inflation once a target is set.
Q: How do I change the pressure units on the Airmoto?
Press the U button to cycle through PSI, KPA, BAR, and KG. The unit abbreviation appears on the display next to the number. Set it before you dial in your target pressure.
Q: Why does my Airmoto read 1-2 PSI low?
The built-in gauge reads 1-2 PSI lower than a standalone digital gauge. Set your target 0.5-1 PSI higher than the recommended pressure to compensate. Verify with a separate gauge if precision matters.
Q: Can I use the Airmoto while it is charging?
No. The Airmoto cannot run while plugged in. Charge it fully first, then use it. A full charge takes 2.5-3 hours over USB-C.
Q: How do I inflate a bike tire with the Airmoto?
Screw the Presta adapter onto the Schrader hose tip, press it onto the bike valve, and lock the lever. Set your target PSI and press start. The Airmoto shuts off automatically at the target.
Q: How do I deflate a tire with the Airmoto?
Press and hold the minus button to enter deflation mode. The unit releases air through the hose. Watch the display and release the button when you hit your target pressure.
Q: How long does the Airmoto battery last?
A full charge handles about 4-6 routine top-offs or one completely flat passenger car tire. Battery life drops in cold weather. Charge monthly even if unused to prevent permanent capacity loss.
Q: Is the Airmoto worth it?
For most drivers, yes. It fits in a glove box, charges over USB-C, and handles car tires, bike tires, and sports balls with included adapters. It is not the fastest option, but the convenience of cordless operation makes it the right tool for daily drivers who want peace of mind.
More Smart Gadgets Articles
Related Product Reviews



Consumer electronics reviewer specializing in smart gadgets and everyday tech. Tests 100+ gadgets annually. Previously wrote for The Verge and Wired. Focus on practical daily-use value.