
In This Article
Cleaning a portable air conditioner is a 20 minute job, but the routine is easy to skip. Run a unit all summer without it and by August the vent feels weak, the water pan fills faster, and the machine smells like a damp basement. The fix is the same boring routine on every unit: rinse the filter, vacuum the coils, wipe the housing. Once you know how to clean a portable air conditioner, the whole thing takes less time than a load of laundry.
This article is part of our smart home cooling coverage, where we test and review portable ACs, evaporative coolers, and the rest of the gear that keeps a room comfortable without a contractor. I spent this summer running a heat-exchange BlizzAir across three rooms and 30 days on a small ChillWell 2.0 evaporative cooler, so the maintenance notes below come from units I actually cleaned, not from a manual.
TL;DR
- Clean the filter every 1 to 2 weeks during heavy use. It is the single highest-impact task on the list.
- Give the coils, fan, and housing one deep clean a year, at the start of the season.
- Never spray water, cleaner, or a hose near the electronics or coils. A vacuum is the right tool.
- Washable filters last for years; replace them when they tear. Disposable filters run 1 to 3 months in heavy use.
- If the unit still smells or runs weak after a full clean, the problem is the drain, the sizing, or the unit itself, not dirt.
- Some portable coolers have no filter and no coils to clean at all. I tested two.
What to Clean Monthly (the Filter)
The filter is the only part of a portable AC that needs attention on a regular schedule, because it takes the full hit of the room’s dust. It sits in front of the evaporator coil and its whole job is keeping that coil clean. When the filter clogs, airflow across the coil drops, the coil cannot absorb heat as fast, and the unit cools worse while working harder. A dirty filter also makes the coils run colder, which means they condense more moisture than the unit can handle, and that extra water heads for the drain pan. That link between a dirty filter and a wet floor is exactly what I covered in our portable AC drainage and leaks guide.
The procedure is the same on nearly every unit, and it takes about five minutes:
- Turn the unit off and unplug it.
- Slide the filter out. On most portable ACs it lives behind the front grille or on the rear panel, and it slides free without tools.
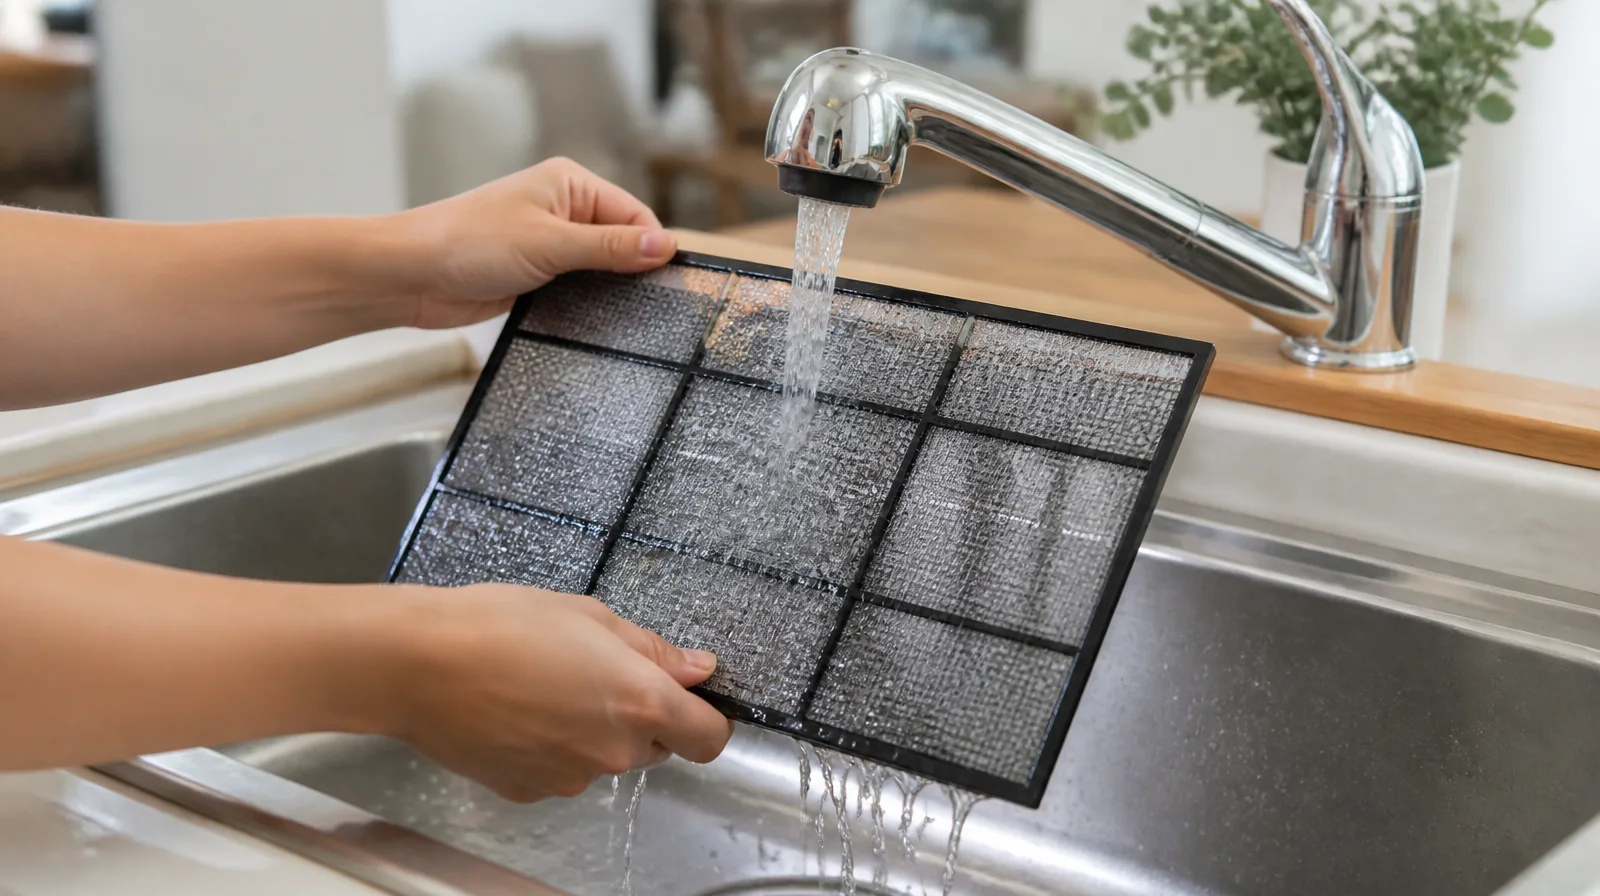
- Rinse it under cool running water until the water runs clear. No soap needed on most mesh filters.
- Let it dry completely. This is the step everyone rushes, and a wet filter drags moisture straight into the coil.
- Slide it back in and check that it seats flush.
The one rule that keeps a portable AC alive: water only touches the filter and the drain. Everything else gets vacuumed or wiped dry.
In heavy use, once a week is reasonable. In normal use, every 2 weeks. If the unit runs only on weekends, monthly is fine. The ENERGY STAR room air conditioner guidance puts the same baseline in official form: check the filter monthly and clean it whenever it looks dirty (ENERGY STAR room air conditioners).
While the filter is out, run the vacuum brush over the grille and the opening behind it. That 20 second pass clears the dust the filter never sees, and it is the difference between a clean unit and a filter sitting in a dirty frame.
Here is the honest part. Some units skip this whole chore. The BlizzAir I tested is a heat-exchange cooler with a filtration stage built in, but no user-accessible filter to pull and rinse. Its only routine maintenance is a dry microfiber wipe across the intake vents every couple of weeks. A unit with no filter to wash changes the math on this entire section.
What to Clean Yearly (Coils, Fan, Housing)
Once a year, before the season starts, give the unit a deeper pass. This is where a vacuum does the real work.
The evaporator coil. With the filter removed, you can usually see the coil behind it, a wall of thin aluminum fins. Vacuum it with a soft brush attachment, working in the direction of the fins. Do not press hard, because fins bend easily and a bent fin blocks airflow in that spot forever. If you cannot reach the coil, some units let the rear grille come off for access.
The condenser coil and exhaust side. On compressor units, the hot side lives at the back near the exhaust hose. Vacuum it the same way when you can reach it. Dust here makes the unit dump heat less efficiently, which raises running costs and shortens the season.
The fan. Dust coats the blower wheel blades and throws the wheel off balance over time, which is a common source of a new rattle. Most fans are reachable through the same panel as the coil. A soft brush and a vacuum clear them without disassembly.
The housing and vents. Wipe the outside with a damp microfiber cloth and vacuum the intake vents. This is also the moment to check the drain pan and clear the drain port, because that is where a year of dust and mineral scale ends up.
The whole yearly pass takes about 30 minutes, and most of it is vacuuming. Set a reminder for the first weekend of the season and it stays a 30 minute habit instead of a full afternoon.
One note from my testing: this yearly deep clean matters far more on compressor units than on evaporative ones. The ChillWell 2.0 I ran has no coil and no condenser to vacuum, just a cartridge and a tank. The BlizzAir pulls air over heat-exchange coils but re-evaporates its condensation internally, so there is no drain pan to clear and no vent hose to reach. The units that need the yearly ritual are the ones with a real compressor cycle.
At the end of the season, the last task matters more than the first. Run the unit in fan mode for 20 minutes to dry the internals, wipe the housing, and store it covered in a dry spot. A unit put away wet starts next summer already musty, and that is how most “it was fine in June and smells by August” stories begin.
Here is the whole schedule on one page:
| Task | How often | What to do |
|---|---|---|
| Filter rinse | Every 1 to 2 weeks in heavy use, monthly otherwise | Pull the filter, rinse under cool water, air-dry fully, reinstall flush |
| Intake vent wipe | Every 2 weeks | Dry microfiber cloth across the back and side vents |
| Evaporator coil | Yearly | Vacuum with a soft brush, working along the fins |
| Condenser and exhaust side | Yearly | Vacuum the rear hot-side coil when you can reach it |
| Fan blower wheel | Yearly | Brush and vacuum through the coil panel |
| Drain pan and port | Yearly, and anytime it smells | Clear debris and scale, wipe dry |
| End-of-season dry-out | Once a year | Run fan mode for 20 minutes, store covered in a dry spot |
Cleaning Mistakes That Break Units
The fastest way to kill a portable AC is to clean it wrong. Here are the moves that actually break units, in the order people seem to reach for them.
Spraying the coils or electronics with liquid. Water, coil cleaner in a spray bottle, or anything pressurized aimed at the coil can land on the control board, the sensors, or the fan motor. The EPA’s mold guidance is blunt about the general rule: moisture left sitting in the wrong place grows mold, and indoor mold is a health problem worth avoiding (EPA mold basics). On a portable AC, the wrong place includes anywhere near the electronics. Vacuum dry, and if you must use a cleaner, spray it on the cloth, never on the machine.
Using a garden hose. I have seen the advice to hose down a portable AC outdoors, and it is bad advice. Water gets into the motor and the board, and the unit usually dies weeks later with a short you cannot see. The filter rinses under a tap. Everything else gets vacuumed or wiped.
Putting the filter back wet. A wet filter feeds moisture to the coil and the fan and can grow mold inside a sealed unit within weeks. Dry it fully, even if that means waiting an hour.
Vacuuming the fins sideways. Pressing a vacuum nozzle flat against the coil bends the fins and permanently blocks airflow in that spot. Work along the fin direction, or use the brush attachment so metal never touches metal.
Blasting it with compressed air. An air compressor aimed at a coil looks efficient and pushes dust deeper into the unit, packing it against the fins and into the motor. A vacuum removes dust; compressed air relocates it. If you must blow it out, use low pressure from an angle and do it outdoors.
Skipping the drain. A clean filter on a unit with a clogged drain still smells and still weakens, because water sits against the coil. The monthly filter wash and the yearly drain clear are one routine, not two.
None of these mistakes is exotic. They are normal cleaning instincts aimed at the wrong target. Air dry, vacuum dry, and the unit survives the season.
That is also the quiet argument for the units that skip the delicate parts entirely. A heat-exchange cooler like the BlizzAir has no coil fins to bend and no compressor electronics near the airflow, so the mistakes in this section mostly do not apply to it.
How Often to Replace Filters
Cleaning frequency and replacement frequency are different questions, and the answer depends on the filter type.
Most portable ACs use a washable mesh filter. Rinse it, dry it, reinstall it, and it lasts for years. The only reason to replace it is physical damage: a tear, a worn edge, or a frame that no longer seals. When the filter stops sitting flush, dust slips past it straight onto the coil, which is worse than no filter at all. Check the seal every time you reinstall it.
Disposable filters are the minority in portable ACs, but they do show up. Those run 1 to 3 months in heavy use, matching the ENERGY STAR guidance to check monthly and replace when visibly dirty. Stock one spare so the swap is instant instead of a week of running with a dirty filter.
You can also skip the calendar and let the filter tell you. Hold it up to a window and try to read anything through it. If you cannot, it is dirty. That light test takes five seconds, and it is more reliable than a schedule for units that run at irregular hours.
Evaporative coolers swap the filter for a cartridge, and the maintenance is a different rhythm. The ChillWell 2.0 I tested uses a honeycomb cartridge that you rinse weekly and replace every 4 to 6 weeks with daily use, or every 1 to 3 months with lighter use, and that is an ongoing cost on top of the purchase price. The full routine, including the hard-water scale issue, is in our ChillWell 2.0 review.
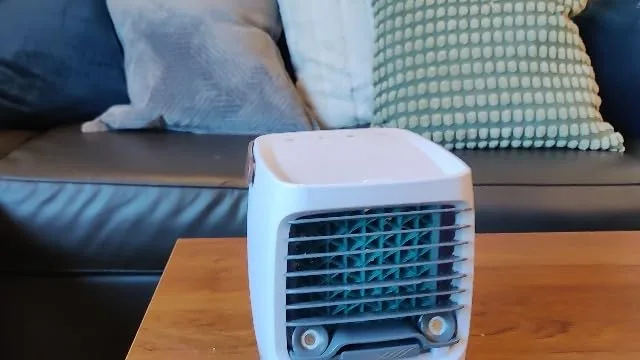
The takeaway: a washable filter is a forever part if you rinse it monthly. A disposable filter or evaporative cartridge is a consumable with a real lifespan. Know which one you own before you decide whether you are cleaning or replacing.
When Maintenance Isn’t the Problem
You did the monthly rinse, the yearly deep clean, the whole routine, and the unit still smells musty or still blows weak air. At that point cleaning is no longer the fix.
A musty smell that survives a clean usually lives in the condensate path, not the filter. Water sits in a clogged drain pan, mold grows there, and the fan spreads the smell through the room. If your unit has a persistent odor, start at the drain, not the filter. And if the unit still fails to cool a room it used to handle, the culprit is usually airflow routing or sizing, not dirt. I walked through all eight of those causes with the fix for each in our portable AC troubleshooting guide.
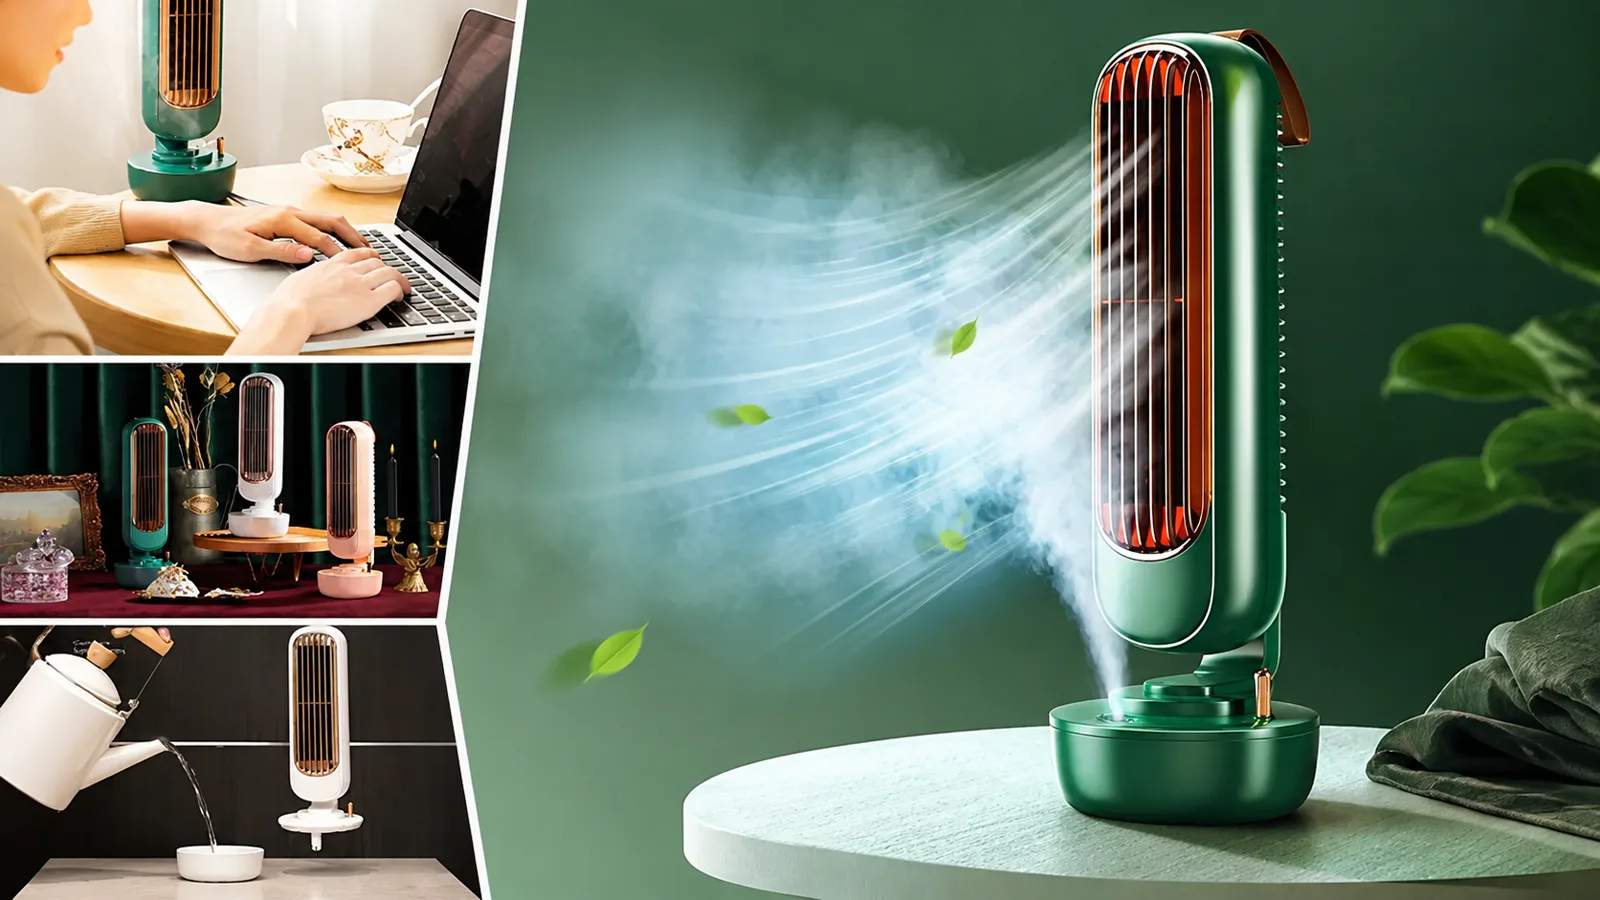
Some portable coolers cut this whole maintenance conversation down to almost nothing. The BlizzAir I tested has no filter to rinse, no coils to vacuum, and no drain pan to clear, because its condensation re-evaporates internally. Its maintenance routine is a dry wipe across the intake vents every couple of weeks. Our full BlizzAir review covers the trade-offs, including that it cannot match a compressor unit on raw cooling power. The ChillWell 2.0 deletes the filter and coil work the same way, trading it for tank and cartridge care that is a different kind of daily habit.

If you are cleaning a unit every week and still chasing the same smell, that is the moment to ask whether the machine is worth the ritual. For a bedroom or a home office, a unit that simply does not need the maintenance is a real answer, not a compromise.
Verdict
Cleaning a portable AC is a monthly filter rinse plus one yearly deep clean, and together they take about 40 minutes a year. Keep the filter flowing, keep the coils dust-free, and never aim liquid at the electronics. When a clean unit still smells or still runs weak, stop cleaning and start troubleshooting, because the problem has moved past dirt.
The units that skip the ritual exist, and I tested two of them. If the maintenance routine sounds like a chore you would rather not own, a portable cooler with no filter and no coils changes the answer.
Common Questions & Answers
Q: How often should I clean my portable air conditioner filter?
In heavy daily use, rinse the filter every 1 to 2 weeks. In normal use, monthly is fine. If the unit runs only on weekends, clean it monthly too. A dirty filter is the most common reason a portable AC suddenly blows weak air and makes extra condensation, so the filter rinse is the single highest-impact maintenance task.
Q: How do I clean a portable AC filter?
Turn the unit off and unplug it, slide the filter out (it usually sits behind the front grille or on the rear panel), rinse it under cool running water until the water runs clear, let it dry completely, and slide it back in. Do not put the filter back wet, because the moisture carries straight into the coil and fan.
Q: What parts of a portable AC need a yearly deep clean?
The evaporator coil, the condenser coil on the exhaust side, the fan blower wheel, and the housing. Vacuum the coils with a soft brush attachment working along the fin direction, brush the blower wheel, and wipe the housing with a damp microfiber cloth. Also clear the drain pan and drain port while you are in there. The whole pass takes about 30 minutes.
Q: Can I spray water or cleaner on my portable AC coils?
No. Spraying liquid at the coils risks hitting the control board, sensors, and fan motor. Vacuum the coils dry. If you need a cleaner, spray it on the cloth and wipe, never on the machine. Water is only for the filter and the drain, and a garden hose is never acceptable on a portable AC.
Q: How often should I replace a portable AC filter?
Most portable ACs use a washable mesh filter that lasts for years if you rinse it regularly; replace it only when it tears or no longer seals flush. Disposable filters run 1 to 3 months in heavy use. Evaporative coolers replace the cartridge instead, every 4 to 6 weeks with daily use or every 1 to 3 months with lighter use.
Q: Why does my portable AC smell musty even after I clean the filter?
The smell usually lives in the condensate path, not the filter. Water sitting in a clogged drain pan or on a dirty coil grows mold, and the fan spreads the smell through the room. Clear the drain pan and port, and dry the unit out. If the odor persists after that, the moisture problem is deeper and worth a service call.
Q: Will cleaning the filter make my portable AC cool better?
Usually, yes. A clogged filter restricts airflow across the evaporator coil, so the coil cannot absorb heat and the vent blows lukewarm air. Rinsing the filter restores airflow and cooling. If the unit still fails to cool after a full clean, the problem is airflow routing or sizing, not dirt.
Q: Do I need to clean the exhaust hose on a portable AC?
The exhaust hose moves hot air to the window, not water, so it collects little moisture. Give it a wipe when it looks dusty and check for kinks and gaps in the window seal. The hose itself is rarely the cleaning problem; the drain line and filter are.
Q: Which portable coolers need the least maintenance?
Heat-exchange coolers like the BlizzAir have no user-accessible filter, no condenser coil to reach, and no drain pan, because condensation re-evaporates internally. Their routine is a dry wipe across the intake vents every couple of weeks. Evaporative coolers like the ChillWell 2.0 delete the filter and coil work but need a water tank refilled and a cartridge rinsed weekly.
Q: Should I clean the coils with a store-bought coil cleaner?
Not on a portable AC. The pressurized spray can land on the electronics, and the foaming cleaner is hard to rinse off a unit you cannot take apart. A soft brush and a vacuum do the job safely. Leave coil cleaner to window units where you can reach and rinse the coil properly.
More Smart Home Articles
Related Product Reviews

Smart home enthusiast and IoT specialist. Has automated over 50 homes across different ecosystems. Former smart home consultant for Google Nest and Amazon Alexa. Passionate about making technology accessible.