
In This Article
- TL;DR
- The 7 Fixes in Order
- Fix 1 and 2: The Roaming Toggle and the Right Line
- Fix 3: The Patient Restart
- Fix 4: The APN on Android
- Fix 5: The Empty Allowance Check
- Fix 6: The Clean Reinstall
- Fix 7: The Hotspot That Ends All Panic
- 1. Solis Go, Around $180
- 2. GlocalMe G4 Pro, Around $149 to $169
- 3. NETGEAR Nighthawk M6, Around $400 to $490
- Why Hotel WiFi Is Not Your Backup Plan
- Prevention: The Pre-Flight Checklist
- Verdict
Landed in Germany, brother’s WiFi connected, eSIM installed fine, and absolutely no data. That support-thread opener repeats across every travel forum because eSIM failure follows the same script: full signal bars, dead apps, rising panic. I have set up travel eSIMs across 15 plus countries for my eSIM roundup, and nearly every failure surrenders to the same 7 checks in the same order. Run them before you buy more data, before you blame the provider, and definitely before you pay for airport WiFi.
TL;DR
- Turn data roaming ON for the travel eSIM line. Off for home, on for travel.
- Set the travel eSIM as the default mobile data line, not the home SIM.
- Restart once and wait ten minutes. Registration is slow, not broken.
- Check the APN matches your install email exactly on Android.
- Install on home WiFi before departure, never at the airport.
- A hotspot backup ends all panic. Troubleshoot calmly while connected.
The 7 Fixes in Order
| Step | Check | Time | Fixes |
|---|---|---|---|
| 1 | Data roaming on for travel line | 30 sec | Most common failure |
| 2 | Travel eSIM set as data default | 30 sec | Silent wrong-line use |
| 3 | Restart phone, wait 10 minutes | 10 min | Slow registration |
| 4 | APN matches install email | 2 min | Bars but no data |
| 5 | Data balance remaining | 1 min | Empty allowance mid-trip |
| 6 | Reinstall profile on WiFi | 10 min | Corrupted install |
| 7 | Switch to hotspot backup | 1 min | Everything else failed |
Do not skip order. Step 1 fixes the plurality alone, and steps 1 through 3 resolve the large majority without touching anything advanced. Each step assumes the previous ones are confirmed, which is how you avoid chasing two problems at once.
Fix 1 and 2: The Roaming Toggle and the Right Line
Open settings and look at your SIMs as the phone sees them. Your home line and travel line are separate citizens with separate switches. Data roaming must be ON for the travel eSIM. This frightens people because roaming historically meant surprise bills, but a prepaid travel eSIM cannot bill beyond its allowance. Roaming here just means permission to use visited networks, which is the entire product.
Then confirm the default data line. iPhones bury this under Settings, Cellular, Cellular Data, where the checkmark must sit on the travel line. Android SIM managers show it as Mobile Data with a SIM selector. Dual-SIM veterans get this wrong constantly because the phone defaults to whichever line was active at home. Two toggles, sixty seconds, and most airport tragedies end here.
Full signal bars measure radio contact, not data permission. Bars with dead apps almost always means a settings problem, wrong line, roaming off, blank APN, and almost never means broken hardware or a dead network.
Fix 3: The Patient Restart
After correcting settings, restart the phone and wait a full ten minutes. Network registration involves the visited carrier accepting a foreign profile, provisioning data rights, and pushing configuration, none of it instant. Restarting mid-process restarts the clock, so resist the urge to toggle settings every ninety seconds. One restart, ten quiet minutes, then judge.
If the eSIM still shows activating after thirty minutes with decent signal, the profile itself may be corrupt. That leads to fix 6, but only after the waiting period. Impatience causes more reinstalls than corrupt profiles do.
Fix 4: The APN on Android
iPhones almost always configure access point names automatically. Android phones sometimes do not, leaving the APN field blank. The symptom is distinctive: strong signal, zero data movement, everything else correct. Open the eSIM’s access point settings, compare against the APN string in your install confirmation email, and type it letter for letter. Case and dots matter. Save, then toggle airplane mode on and off to force the phone to re-register with correct parameters.
Screenshot your install email before departure, including the APN block. Airport WiFi plus an email search for one cryptic string is a miserable combination you can avoid entirely with one screenshot at home.
Fix 5: The Empty Allowance Check
Halfway through a trip, the failure is often just mathematics. Video calls eat roughly 1GB per hour, maps with satellite view drink steadily, and hotspot sharing multiplies everything. Open the provider app and read the remaining balance before touching settings. An empty allowance produces full bars with dead apps, identical to misconfiguration.
Top up on WiFi before the balance hits zero, since some providers need connectivity to process the purchase. Set a usage alert at 80 percent if the app offers one. Travelers who monitor balances never experience this failure, which makes it the most preventable entry on this list.
Fix 6: The Clean Reinstall
When settings are verified and balance remains yet data stays dead, reinstall the profile. Connect to stable WiFi, delete the travel eSIM profile from settings, and reinstall from your original QR code or manual details. Do this once, carefully, not three times frantically. Repeated installs can burn through single-use install codes on some providers, converting a fixable problem into a support ticket.
If the reinstall also fails, collect evidence for support: screenshots of the error, your install email, phone model, OS version, and country. Providers resolve documented cases far faster than “it doesn’t work” messages. My Japan connectivity guide covers country-specific wrinkles when the generic steps stall.
Fix 7: The Hotspot That Ends All Panic
Here is the honest commercial truth: a backup connection worth $150 to $180 removes every failure mode above in one purchase. Hotspots do not need APNs typed, lines selected, or profiles installed. Power on, join WiFi, done. When the eSIM dies at midnight in Barajas, tethering to a backup gets you maps and messages in sixty seconds while you troubleshoot the eSIM calmly instead of desperately.
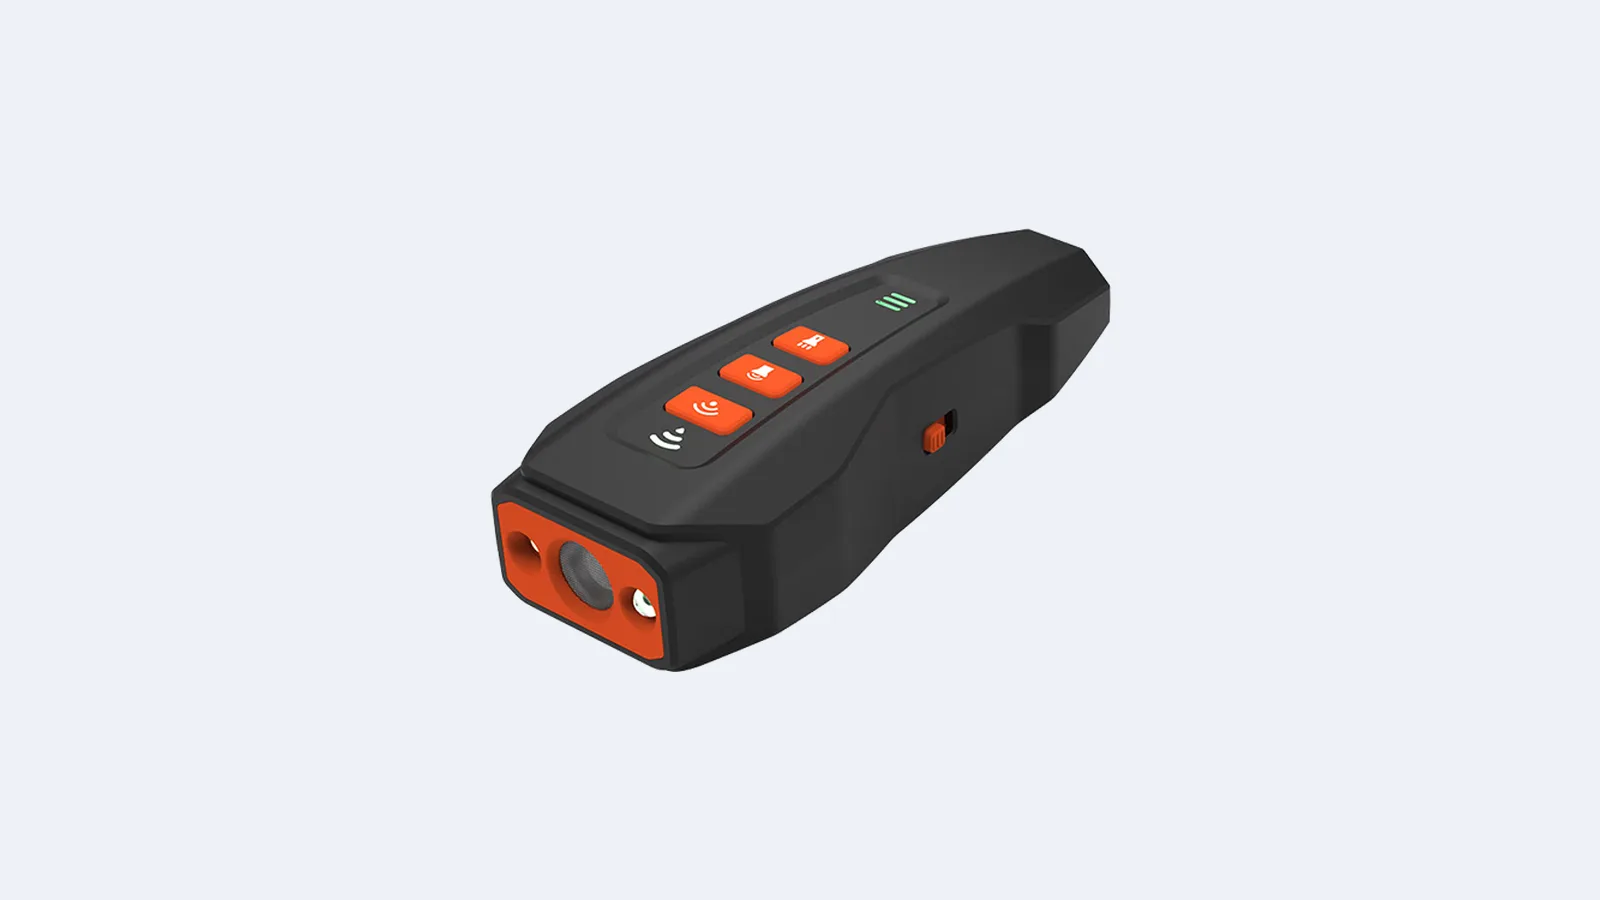
1. Solis Go, Around $180
Why it earns the backup crown spot: lifetime bundled data means it works the day you buy it and every trip after, with no plan to expire while sitting in a drawer.
The Solis Go is the backup I recommend because backups must work without maintenance. No subscription to lapse, no eSIM to expire, just a charged brick with data waiting. Its power bank body charges the dying phone that probably caused half the panic. Ratings hold 4.0 across 3,300 plus reviews at last check. Keep it charged quarterly and it outlives every eSIM crisis you will ever have.
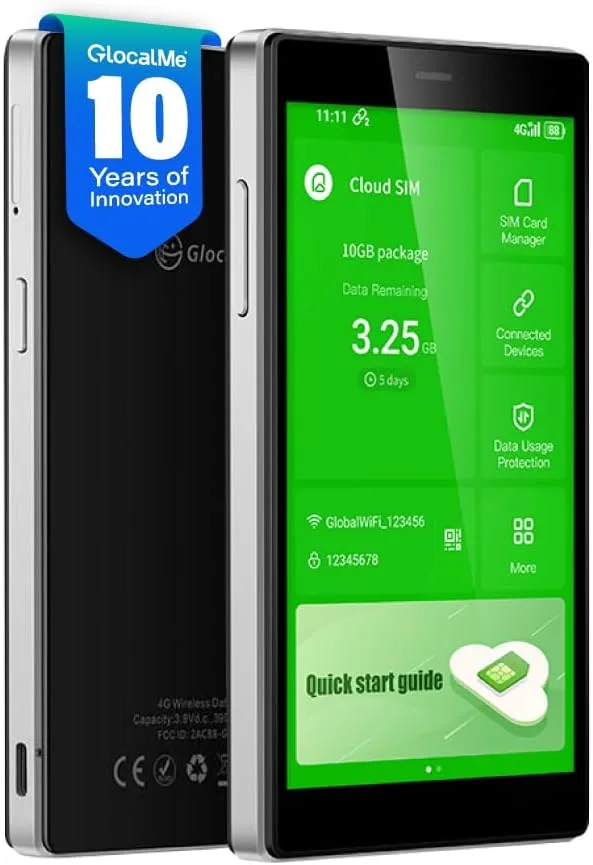
2. GlocalMe G4 Pro, Around $149 to $169
Why it earns the screen-guided backup spot: the touchscreen shows data balance and tops up without a working phone, which matters when the phone is the broken half.
When troubleshooting solo, a backup with its own display removes guesswork. The G4 Pro shows signal, balance, and connected devices at a glance across 200 plus countries. Data costs run higher per gigabyte than eSIMs, so treat it as emergency fuel rather than daily driving. For non-technical travelers who panic at settings menus, the screen is worth the premium alone.

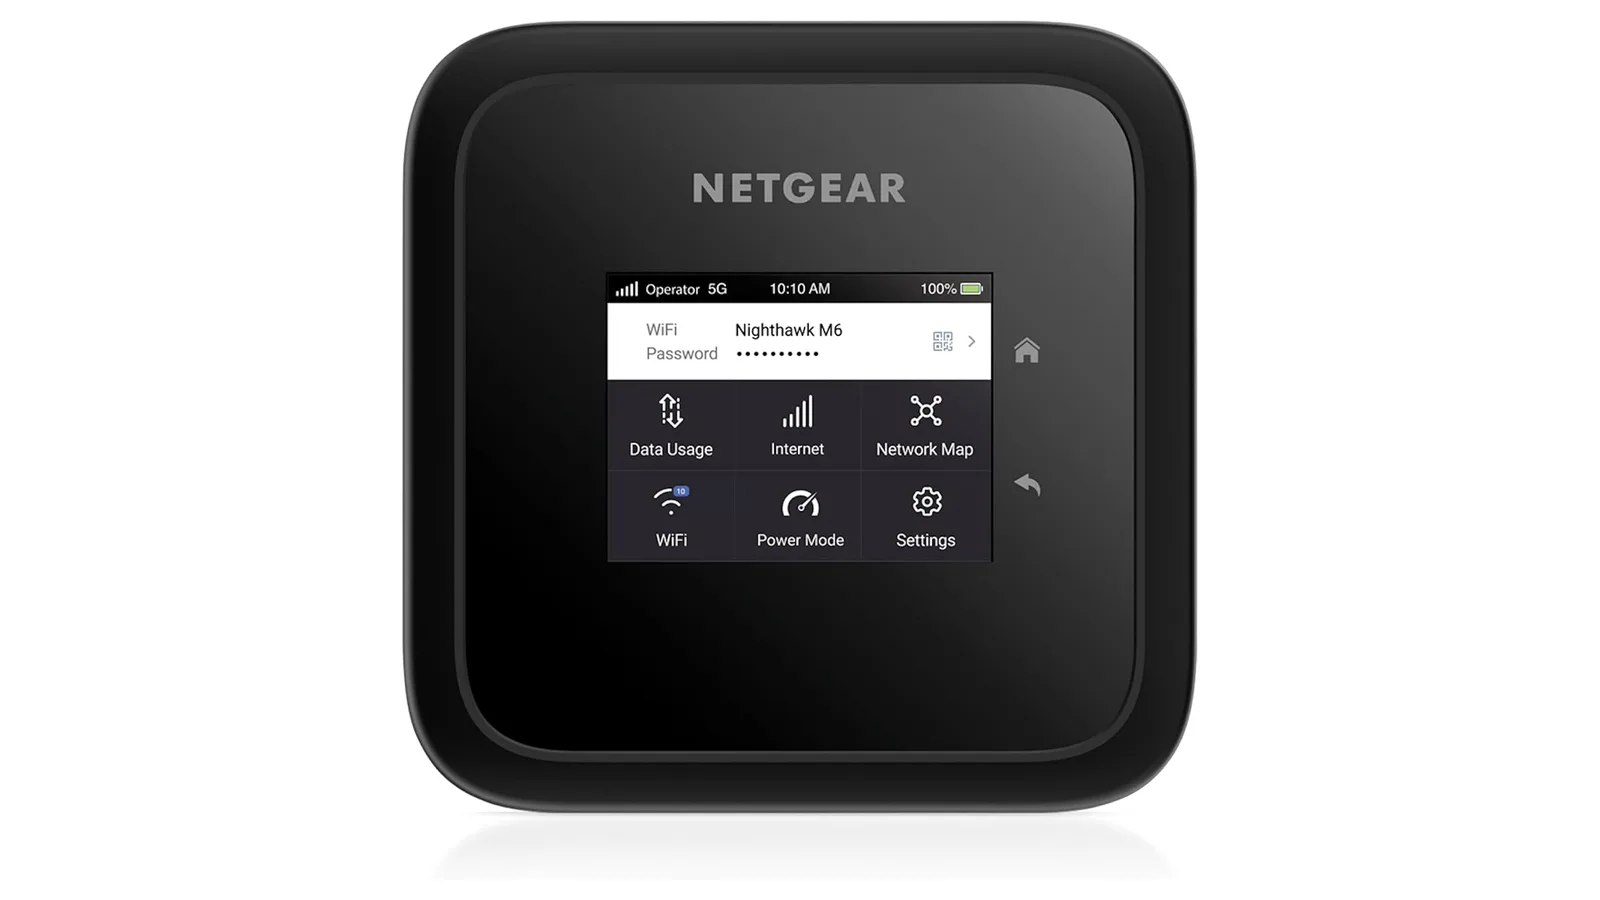
3. NETGEAR Nighthawk M6, Around $400 to $490
Why it earns the power-user backup spot: carrier-grade 5G speed for travelers whose backup must handle real work, not just messages.
Remote workers cannot troubleshoot on a throttled lifeline while a client waits. The M6 with a local data SIM delivers genuine broadband to 32 devices, which ends the emergency and the workday simultaneously. The price stings and it needs its own SIM plan, so this is the professional’s answer rather than the vacationer’s. Ratings near 3.7 across 290 reviews at last check reflect demanding users judging harshly, not broken hardware.
Why Hotel WiFi Is Not Your Backup Plan
When the eSIM dies, the temptation is to limp along on hotel and café networks. Resist making that the strategy. Open travel WiFi is unencrypted far more often than travelers assume, which exposes logins and messages to anyone listening on the network. Banking or work logins over hostel WiFi without protection is asking for trouble.
A VPN helps on untrusted networks, and every traveler should have one installed before departure. But VPNs cannot fix captive portals that demand SMS verification to a number you cannot receive, or hotel networks that block VPN protocols entirely. The hotspot backup sidesteps all of it with a private encrypted connection you control. Treat public WiFi as a convenience for streaming, never as the link your trip depends on.
Prevention: The Pre-Flight Checklist
- Install eSIMs on home WiFi at least a day before departure.
- Screenshot install details including APN and support contacts.
- Verify phone SIM-free and eSIM compatible in settings.
- Set travel line as data default before the plane doors close.
- Enable roaming for the travel line only.
- Charge the hotspot backup and confirm its data balance.
- Download offline maps for arrival day regardless.
Seven minutes at home prevents seven hours of airport regret. Tape this list inside your passport holder until it becomes habit.
Verdict
eSIM failures are settings problems wearing a scary costume. Roaming on, right line, patient restart, correct APN, balance checked, clean reinstall, hotspot backup. Memorize that chain and no arrival hall can hurt you again. The backup hotspot deserves emphasis: every other fix assumes eventual success, while the Solis in your bag guarantees connection tonight. My portable WiFi versus eSIM comparison helps you size the whole strategy before the next trip.
Screenshot your APN, charge your backup, and walk off the plane like someone with a plan.
Common Questions & Answers
Q: Why is my travel eSIM installed but not working?
The top causes in order: data roaming is off for the eSIM line, the phone is still using the home SIM for data, the eSIM needs a restart or a few minutes to register, or the APN field is blank. Work through those four before anything exotic. Nine out of ten airport failures I see described end at step two, with the phone faithfully using the wrong line.
Q: How do I enable data roaming for my eSIM?
Open cellular settings, tap the travel eSIM line, and toggle data roaming on. Roaming charges do not apply the way travelers fear here, since the eSIM is prepaid with its own data allowance. Keep roaming off for your home line to avoid carrier bills, and on for the travel line or it cannot attach to visited networks. This single toggle fixes the plurality of failures.
Q: Should I turn off my home SIM while traveling?
Not necessarily off, but it must not be the data line. Set the travel eSIM as the default for mobile data while keeping the home line active for calls and texts if you need two-factor codes. On iPhones this lives under cellular data switching settings. On Pixels and Galaxies it sits in SIM manager. Wrong default line is the most common silent failure.
Q: What APN should I use for Airalo eSIM?
Most Airalo eSIMs configure automatically, but some Android phones need the APN typed manually from the install email. The value varies by eSIM product, so copy it exactly from your confirmation, letter for letter, and save. A blank or wrong APN shows full signal bars with zero data movement, the classic symptom. After saving, toggle airplane mode to force re-registration.
Q: How long does eSIM activation take after landing?
Usually under five minutes once roaming is on and the correct data line is selected. Give it one restart and ten patient minutes before declaring failure. If the eSIM still shows activating after thirty minutes with good signal, reinstall the profile on WiFi or contact support with screenshots. Installs done at home on WiFi before departure fail far less often than airport installs on shaky networks.
Q: Can I install an eSIM without WiFi?
Technically sometimes via manual entry, but do not plan on it. QR scanning and profile downloads need stable internet, which is exactly what you lack when the eSIM is your only plan. Install every eSIM at home before departure, verify it shows in settings, and screenshot the install details including any APN. Airport WiFi as a fallback works but adds stress to an already stressful moment.
Q: Why does my eSIM show signal but no internet?
Signal bars measure radio contact with a tower, not data permission. Full bars with dead apps means the phone attached to a network it cannot use for data: wrong APN, data cap exhausted, wrong default line, or a plan restricted to certain networks. Check data balance in the provider app first, since an empty allowance produces exactly this symptom halfway through trips.
Q: Is a hotspot a good backup for eSIM failure?
The best one. A pocket hotspot with lifetime or pay-as-you-go data bypasses every phone-side failure mode: APN, line selection, compatibility. When your eSIM dies in an airport, tethering to a Solis or Ryoko gets you online in a minute while you troubleshoot calmly. Frequent travelers should treat the $150 to $180 backup as trip insurance.
More Smart Gadgets Articles



Related Product Reviews



Consumer electronics reviewer specializing in smart gadgets and everyday tech. Tests 100+ gadgets annually. Previously wrote for The Verge and Wired. Focus on practical daily-use value.