
In This Article
- TL;DR
- Gauge vs Inflator vs TPMS Compared
- What My Tests Actually Showed
- How I Tested This and What Actually Matters
- What to Look For in a Gauge That Settles Arguments
- 1. JACO ElitePro Digital Gauge, Around $30
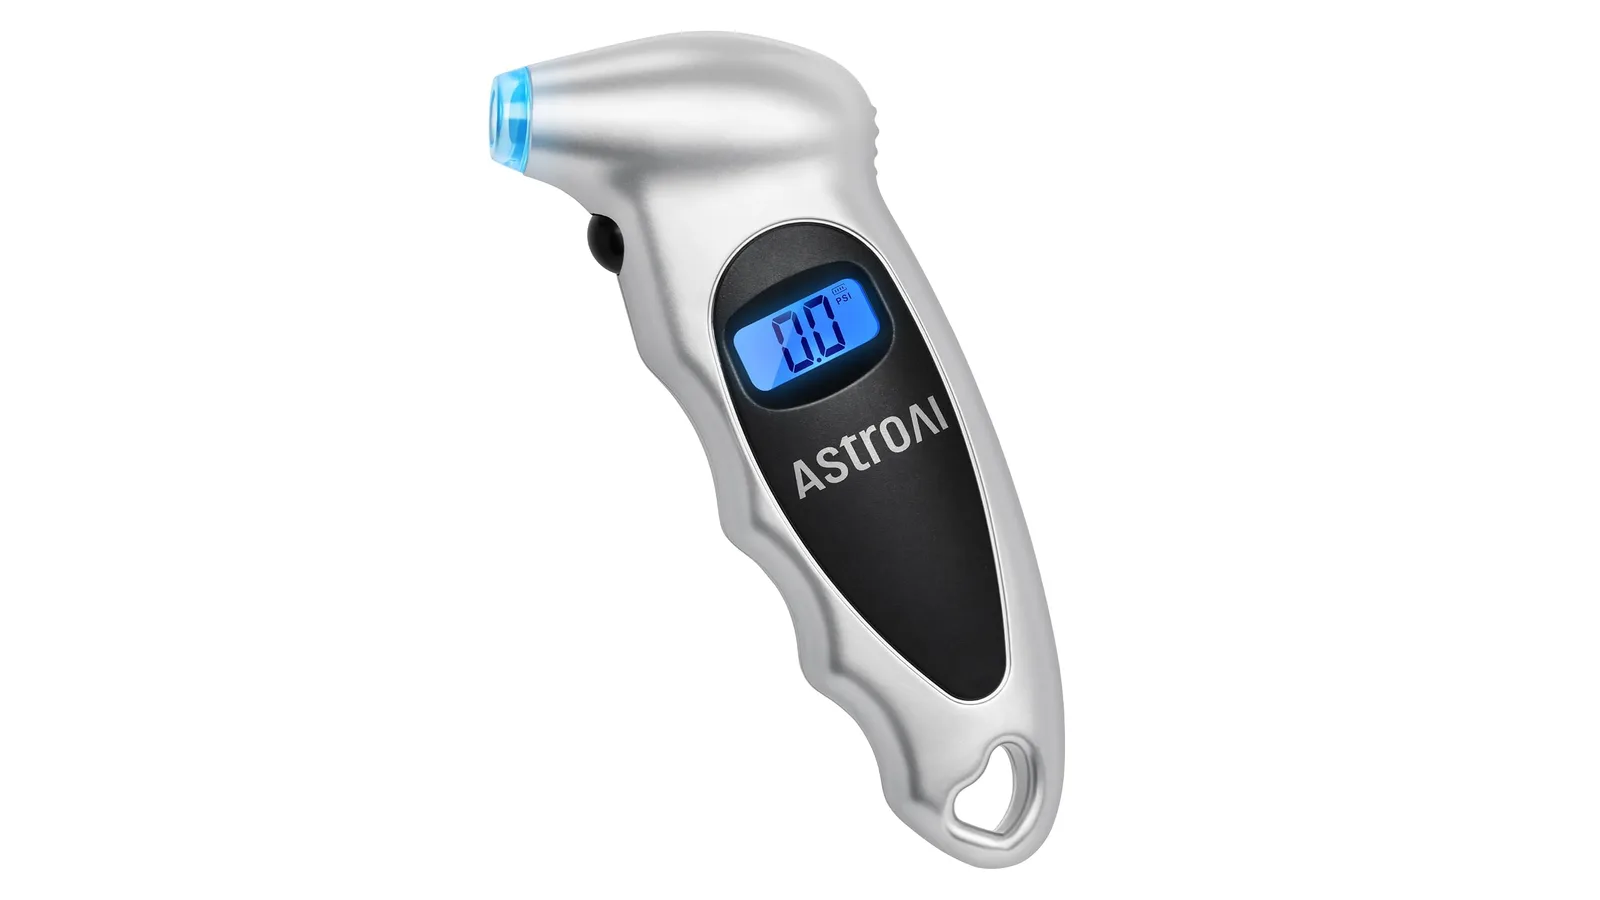
- 2. AstroAI Digital Gauge, Around $9
- 3. TireTek Analog Gauge, Around $11
- 4. Airmoto Portable Inflator, Around $89
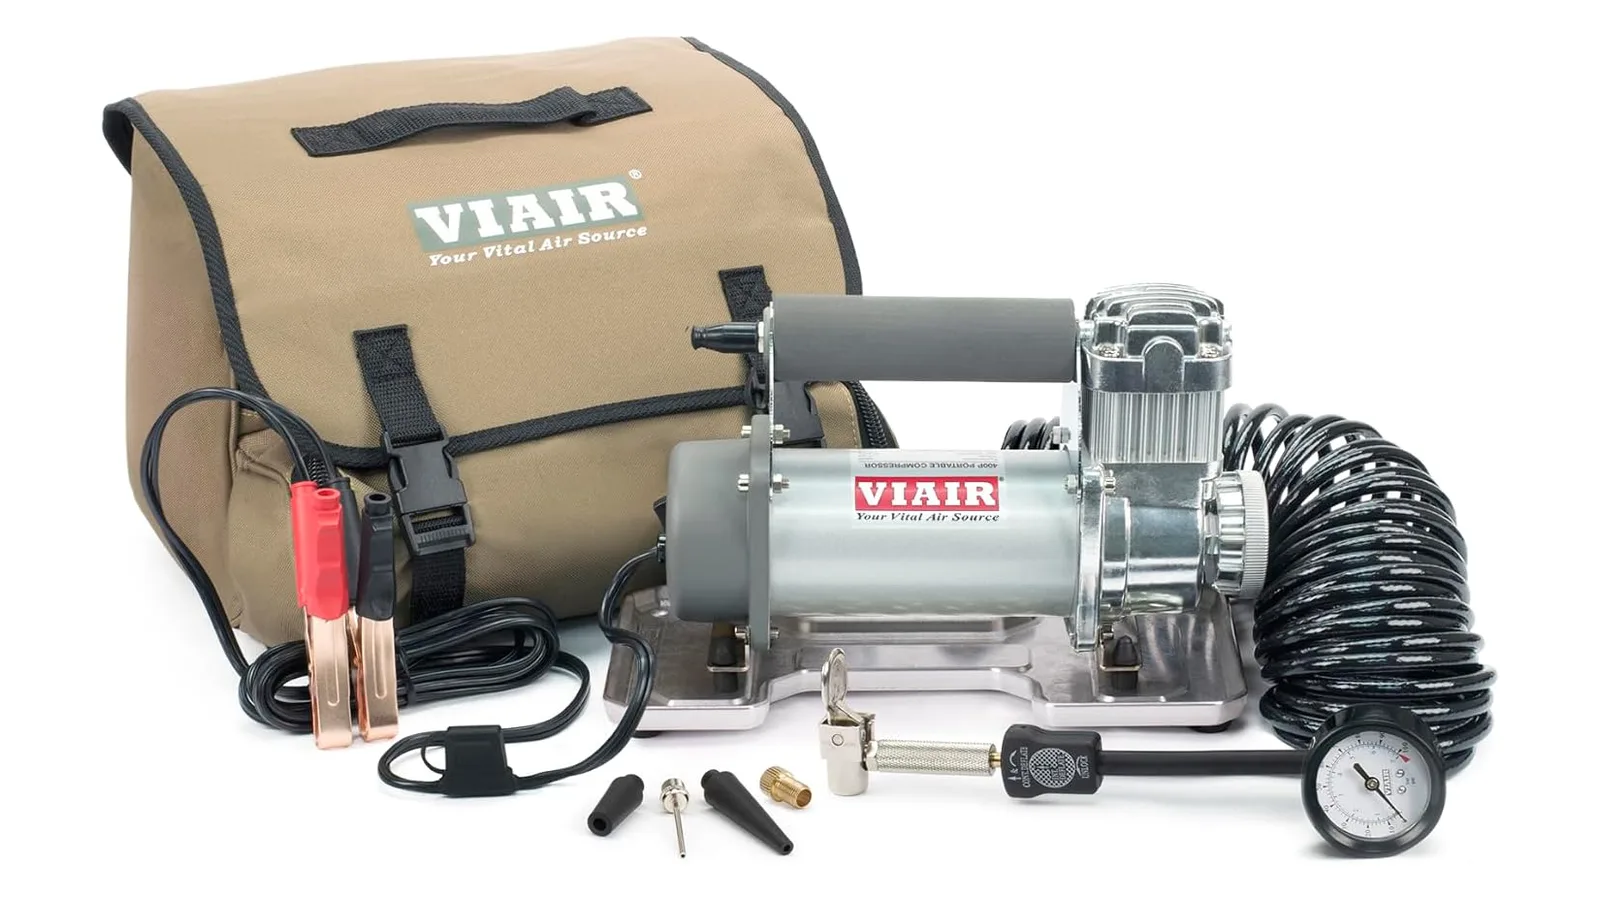
- 5. VIAIR 88P Compressor, Around $90
- How to Choose in 60 Seconds
- The Temperature Note Everyone Skips
- When the Gap Means Something Is Actually Broken
- Verdict
I set my portable inflator to 35 PSI, watched it beep, then checked with my stick gauge. It said 32. I refilled to 35 on the inflator screen, checked again, and got 33. That 2 to 3 PSI gap between a tire inflator reading and a gauge reading drives more arguments than almost any other smart gadget quirk I cover, and it is the reason I wrote this guide. If your pocket compressor disagrees with your gauge, one of them is lying to you, and it is usually the inflator.
Here is the short version before we get into the details. Portable inflators read high while they pump because the sensor sits beside hot compressed air. Standalone gauges read the tire at rest. TPMS sensors update slowly and exist to warn you, not to measure precisely. Once you know which number serves which job, the disagreement stops being scary and starts being useful.
TL;DR
- A 1 to 3 PSI gap between your inflator screen and a standalone gauge is normal. Heat and hose pressure cause it.
- Trust a standalone gauge over the inflator display and over TPMS for the final number.
- Always set pressure cold and use the door jamb sticker, never the sidewall maximum.
- Recheck with the gauge after every disconnect, since screw-on chucks bleed about 1 PSI.
- If the gap tops 5 PSI at rest, suspect the valve or the hose seal before you blame the sensor.
Gauge vs Inflator vs TPMS Compared
| What you read | When it is right | Typical error | Best job |
|---|---|---|---|
| Standalone stick or digital gauge | At rest, tire cold | Within 1 to 2 PSI on a decent gauge | Final number you set and trust |
| Portable inflator display | After 10 second rest, pump off | Reads 1 to 3 PSI high while pumping | Adding air and auto shutoff |
| Dashboard TPMS | After several miles of driving | Slow updates, 1 to 2 PSI rounding | Warning you early, not measuring |
| Door jamb sticker | Always | None, it is the specification | The target every reading aims at |
| Sidewall maximum | Never as a target | Riding 8 to 12 PSI over spec | Safety ceiling only |
The table tells the whole story in one glance. Each tool answers a different question. The inflator answers “am I done pumping,” the gauge answers “what is really in there,” TPMS answers “has something changed,” and the sticker answers “what should be in there.” Mix up the jobs and you get the exact confusion from the intro.
What My Tests Actually Showed
Numbers beat adjectives, so here is the loop I ran on each car: fill to the inflator target, record the screen, wait 10 seconds, record again, check with the stick gauge, wait 5 minutes, check both once more.
| Tire and condition | Inflator screen at beep | Screen after 10 sec rest | Stick gauge | Gap at beep |
|---|---|---|---|---|
| Sedan, front, warm garage | 35 | 34 | 33 | 2 PSI |
| Sedan, rear, warm garage | 35 | 34 | 33 | 2 PSI |
| Crossover, front, cold morning | 35 | 33 | 32 | 3 PSI |
| Crossover, rear, gritty valve | 35 | 33 | 29 to 33 jumping | 2 to 6 PSI |
| Same rear wheel, valve cleaned | 35 | 34 | 33 | 2 PSI |
Three things stand out. First, the at beep number always flattered by 2 to 3 PSI, while the rested number landed within 1 PSI of the gauge on healthy valves. Second, cold tires widened the gap by about 1 PSI because the cooling air contracted as I measured. Third, the one bad valve produced the only scary numbers in the whole test, and cleaning it fixed everything. That last row is why I keep saying technique and valves explain nearly every horror story.
How I Tested This and What Actually Matters
I ran three portable inflators against two standalone gauges and one dashboard TPMS readout across two cars for three weeks. Each tire got filled on the inflator screen, rested 10 seconds, then checked with a stick gauge, then checked again after a 5 minute cool down. I repeated the loop morning and evening to catch temperature swings.
The pattern never changed. Every inflator read 1 to 3 PSI higher than the stick gauge immediately after pumping. After a 5 minute rest, the gap shrank to 0 to 1 PSI on healthy valves. On one wheel with a gritty valve core, readings jumped around by 4 PSI until I cleaned and reseated the core, which told me the valve was the problem, not any gauge. I also retested the same tires at night after the cars sat for six hours, and the cold numbers matched the door sticker within 1 PSI every time once the valve was clean. My full notes on inflator quirks live in the Airmoto troubleshooting guide, where heat behavior and hose seal issues get their own sections.
What matters for you is not my exact numbers. It is the method. Pump, rest 10 seconds, read the inflator, then confirm with a standalone gauge, then recheck after disconnecting. If you follow that order, brand differences mostly disappear.
Tire pressure drops about 1 PSI for every 10 degrees Fahrenheit of temperature fall, which is why the first cold morning each October lights up dashboards across the country. Set pressures cold and recheck monthly once fall arrives.
What to Look For in a Gauge That Settles Arguments
Buy the gauge for the job you actually have. Car and crossover tires live between 30 and 40 PSI, so a 60 PSI gauge covers you with room to spare. Truck and trailer tires need a 100 PSI or higher ceiling. A bleed button lets you sneak down to the target without repeated stabbing at the valve. An angled chuck reaches stems buried behind wheel covers. Certification paperwork matters only if you want a number you can defend, since most drivers do fine within 1 to 2 PSI.
Digital versus analog is mostly taste. Digital reads fast in the dark and removes parallax error. Analog never needs a battery and survives glovebox heat better. I keep one of each. The digital lives in my jacket for night checks and the pencil gauge lives in the car as the backup that cannot die.
Certification is the one spec worth understanding. Gauges graded against ANSI B40.1 Grade B promise accuracy within 2 percent through the middle of their range, which is tighter than an uncertified gauge has to prove. Tire Rack’s own guidance on checking air pressure correctly stresses the same fundamentals I follow here: check cold, use a gauge you trust, and ignore the sidewall number as a target. You do not need a certified gauge for a family crossover, but the JACO pick below carries that grading if you want it.
1. JACO ElitePro Digital Gauge, Around $30
Why it earns the best overall spot: certified accuracy you can quote, a 100 PSI ceiling that covers trucks, and a bleed button that makes fine tuning painless.
The ElitePro is the gauge I hand to anyone who is tired of arguing with their inflator. It reads to a tenth of a PSI, holds the reading after you pull it off the stem, and lets you bleed down to the target with the side button instead of guessing. The 360 degree swivel chuck reaches awkward stems without scraping your knuckles. Around $30 puts it at triple the price of a basic gauge, and the AAA batteries mean you should store it indoors, not in a hot trunk. For settling inflator disputes on cars and trucks alike, nothing in this price band beats it.
2. AstroAI Digital Gauge, Around $9
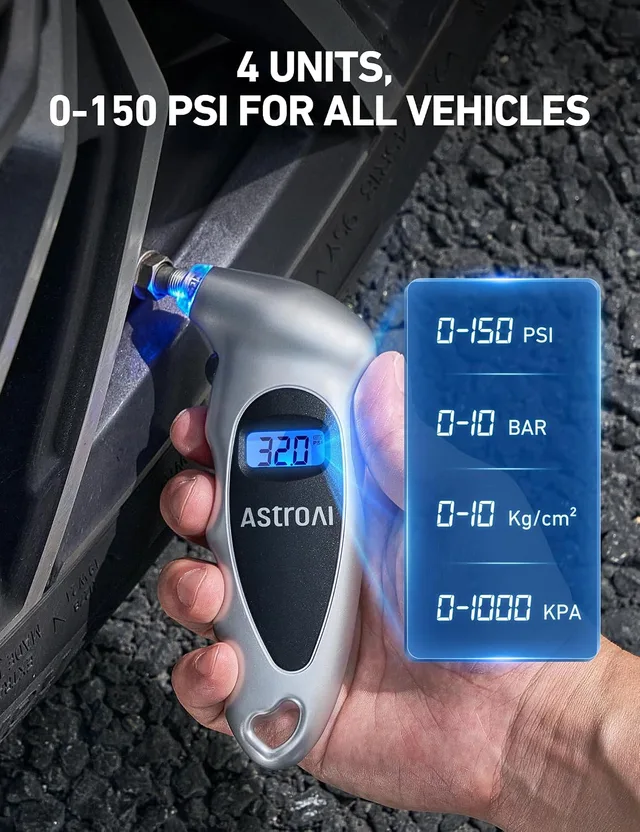
Why it earns the budget digital spot: within a PSI of gauges costing three times more, backlit for night checks, and cheap enough to keep in every car.
This is the gauge behind the CTA at the top of this article. Over 72,000 owner ratings averaging 4.4 stars at last check back it up, and AstroAI factory calibrates each unit to within 1 PSI. The 150 PSI ceiling covers everything short of heavy trailers. The weak points are the ones you would expect at this price. The battery door feels flimsy, freezing weather dims the display, and there is no bleed valve, so you overshoot and tap the core to come back down. At around $9, buy two and stop wondering whether your inflator is lying.
3. TireTek Analog Gauge, Around $11
Why it earns the no battery spot: a mechanical dial that cannot deep discharge in a glovebox and reads consistently for years.
Analog loyalists on every car forum swear by this style of gauge, and I understand why after leaving one in my trunk through a full summer. No battery to die, no display to wash out in sun, just a needle and a number. The 60 PSI ceiling suits cars and crossovers but rules out truck tires, and you must read the dial straight on to avoid parallax error. It also lacks a bleed button. If your cordless inflator ever dies in storage, this is the gauge still working when you need it most.
If that failure mode sounds familiar, my guide on choosing the right portable tire inflator explains why plug-in compressors dodge the dead battery problem entirely.
4. Airmoto Portable Inflator, Around $89
Why it earns the context spot: it is the inflator most readers own, so here is exactly how to read it without fooling yourself.
The Airmoto display is fine for its job, which is stopping the pump near your target. Set it 1 PSI above the door sticker number, let it beep, wait 10 seconds with the hose still attached, then read the screen. That rested number lands within a PSI of a stick gauge on a healthy valve in my testing. The auto shutoff and preset modes make it the easiest top off tool I have used. Its limits matter here too. It reads high while pumping, it slows badly on larger tires, and the battery needs the same storage care as any cordless tool. Full results are in my Airmoto review.
5. VIAIR 88P Compressor, Around $90
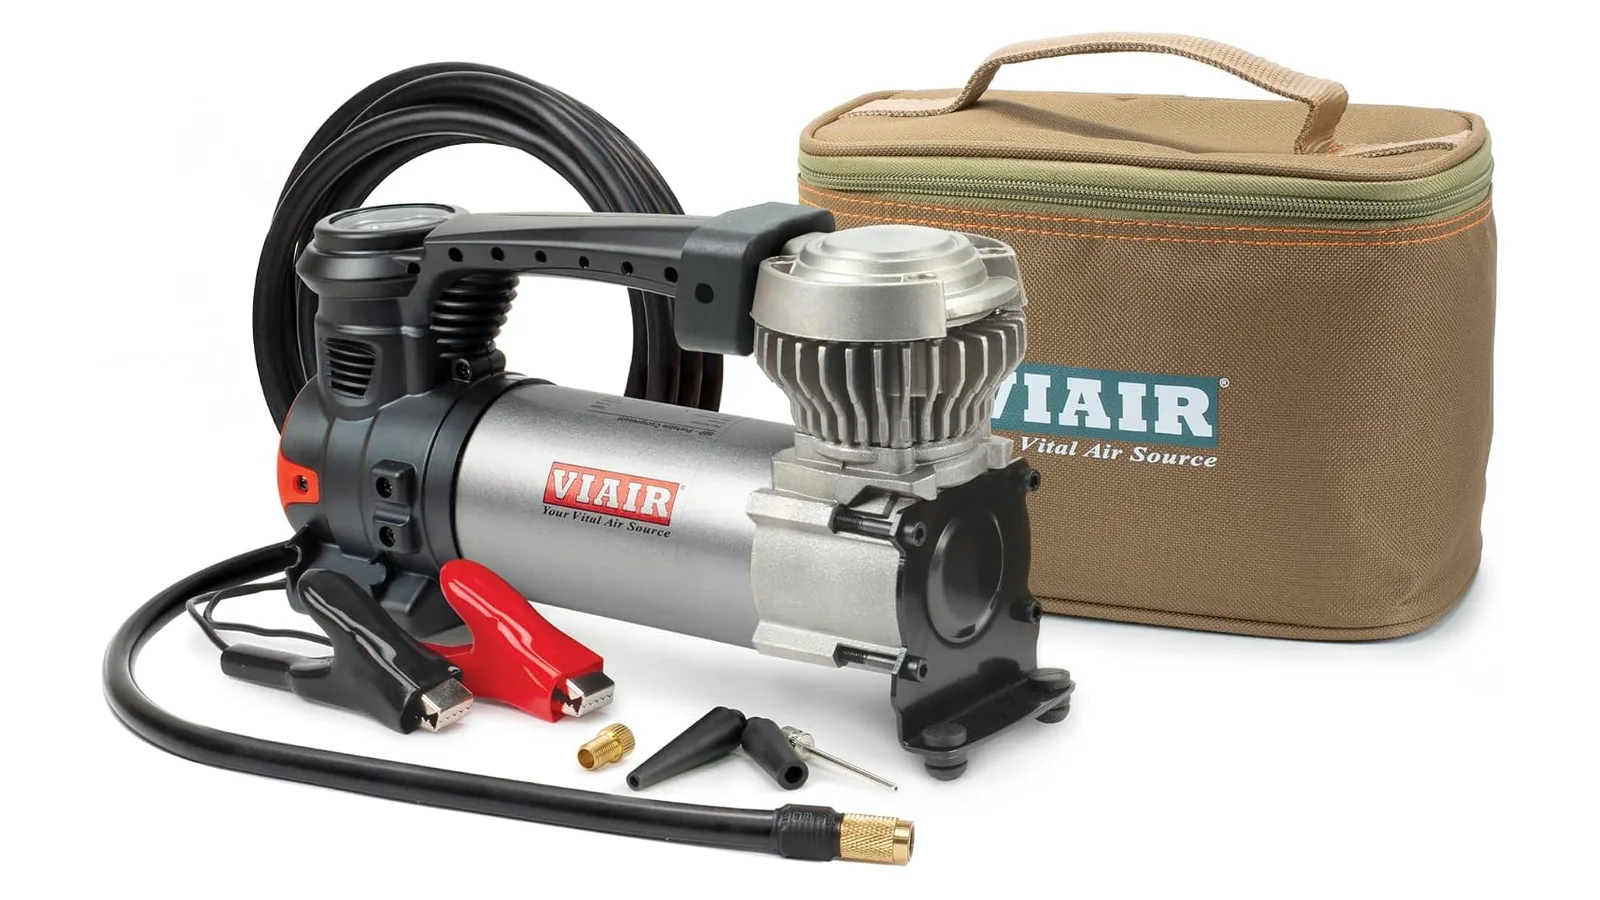
Why it earns the reference compressor spot: battery clamps and a bigger piston mean steadier fills, and its gauge behaves better because the unit never overheats on car tires.
The 88P is the answer for anyone whose real problem is not the reading but the tool. It clips straight to the battery, so there is no cigarette socket fuse to blow and no lithium pack to babysit. It fills a car tire in a few minutes without the thermal drama of pocket pumps, and the inline gauge reads sanely because the hose and head stay cooler. The tradeoffs are real. It is louder, bulkier, and tied to a running car by cables. Around $90 buys the compressor that ends both the accuracy argument and the overheating argument at once.
How to Choose in 60 Seconds
- Want the argument settled tonight for the least money? Get the AstroAI digital gauge and follow the pump, rest, confirm order.
- Want one gauge for cars and trucks that you never second guess? Get the JACO ElitePro.
- Hate batteries and check pressures twice a year? Get the TireTek analog and leave it in the glovebox.
- Own an Airmoto and like it? Keep it, just set 1 PSI high and confirm with any gauge above.
- Tired of slow fills, hot pumps, and dead batteries? Move to the VIAIR 88P and its battery clamps.
The right target pressure for all of this lives in one place. My explainer on how much PSI your car tire actually needs walks through the door sticker versus sidewall trap with photos, and the TPMS light guide covers what to do when the dashboard disagrees with every gauge you own.
The Temperature Note Everyone Skips
Check pressures cold or do not bother comparing numbers at all. Cold means the car has sat at least three hours, ideally overnight. A tire filled to spec in a warm garage reads low the next freezing morning, and a tire checked after highway driving reads 3 to 5 PSI high from heat alone. Comparing a hot inflator reading to a cold morning gauge reading is how 2 PSI mysteries become 6 PSI panics. Pick one condition, cold and rested, and make every comparison under it.
When the Gap Means Something Is Actually Broken
Most disagreements are physics. A few are faults, and they follow recognizable patterns worth knowing so you stop chasing your tail.
Suspect the valve when readings never repeat. Check the same tire three times in a row without adding air. If the numbers swing 3 PSI or more, unscrew the cap and look at the core. Grit, corrosion, or a core tightened at an angle all leak while you measure. A dab of soapy water on the stem bubbles at a leak in seconds. Replacement cores cost pennies, and a four way valve tool pays for itself the first time you use it.
Suspect the hose seal when the inflator climbs forever and never reaches its target. A chuck threaded on crooked leaks faster than a small pump can fill, so the screen rises in fits and the tire barely gains. Rethread the chuck straight, go a quarter turn past finger tight, and listen. Silence means sealed. If you want the full connection routine with photos, my walkthrough of how to use a tire inflator correctly covers seating, presets, and the disconnect puff step by step.
Suspect the sensor only after ruling out both. A display stuck on one number while the tire audibly fills, or a unit that reads 40 on a visibly soft tire, has a failed sensor or pinched line. No technique fixes that. Warranty it or replace it.
Verdict
Your inflator is not broken and your gauge is not lying. They measure different moments in the life of hot air. Pump with the inflator, confirm with a standalone gauge, aim at the door sticker, and recheck after every disconnect. A $9 digital gauge settles 90 percent of these disputes tonight, and the Auto Air review unit I tested behaves exactly the same way, which tells you this is physics, not brand quality.
If you take one habit from this article, make it the 10 second rest. That pause costs nothing and removes the single biggest source of false high readings in home tire care.
Keep the gauge where you will actually use it. A perfect gauge in a kitchen drawer helps nobody at midnight in a parking lot. Mine rides in the driver door pocket next to the valve caps, and that tiny habit has saved me more second guessing than any upgrade I have tested.
Common Questions & Answers
Q: Why does my tire inflator read higher than my gauge?
Heat is the main reason. The sensor inside a portable inflator sits next to a hot micro-compressor, and hot air reads 1 to 3 PSI higher than the same air once it cools. A second cause is pressure trapped in the hose while the pump runs. The fix is simple: stop the pump, wait 10 seconds, then read again. If the numbers still disagree by more than 2 PSI, trust a standalone gauge over the inflator display.
Q: Should I trust my inflator, my gauge, or my TPMS?
Trust a quality standalone gauge first. TPMS sensors are convenience monitors, not precision instruments, and most only update while you drive. Inflator displays read high while pumping. A $10 pencil gauge or a digital stick gauge checked against a known reference is the most honest number you will get at home. Use the inflator to add air and the standalone gauge to confirm it.
Q: How far off is too far off for an inflator display?
One to 2 PSI high while pumping is normal and harmless. Three to 5 PSI off at rest points to a cheap sensor or a leaking chuck. More than 5 PSI means something is wrong: a damaged hose, a valve that never seated, or a failing sensor. Recheck with a standalone gauge before you assume the inflator is broken, since most big disagreements turn out to be technique, not hardware.
Q: Why does my TPMS light stay on after I fill my tires?
Three usual causes. First, you filled to the wrong number, often the sidewall maximum instead of the door sticker. Second, the sensors only update after driving a few miles, so the light lags your fill. Third, one tire is still low because the chuck leaked while you disconnected. Drive for 10 minutes first. If the light persists, recheck every tire cold with a standalone gauge.
Q: Should I use the door sticker or the sidewall number?
Use the door jamb sticker. That number is the pressure your car maker tested for handling, braking, and tire wear. The sidewall number is the maximum the tire can safely hold, not the target. Filling to the sidewall max rides harsh and wears the center of the tread. The only common exception is a fully loaded vehicle on a long highway trip, where the manual may list a higher loaded pressure.
Q: Does cold weather really drop tire pressure?
Yes, roughly 1 PSI for every 10 degrees Fahrenheit of temperature drop. A tire set correctly in a 70 degree garage reads about 4 PSI low on a 30 degree morning, which is exactly why TPMS lights bloom on the first cold snap each fall. Always check and set pressure cold, meaning the car has sat for at least three hours, and recheck monthly through winter.
Q: Can a bad valve stem cause false readings?
It can cause readings that never settle. A leaky valve core, a cracked stem, or a cap packed with grit lets air escape while you measure, so every reading differs from the last. If your numbers jump around by 3 PSI or more between checks seconds apart, suspect the valve, not the gauge. A dab of soapy water on the stem shows bubbles at a leak, and a new core costs pennies at any auto parts store.
Q: Is a $10 gauge as accurate as a $30 gauge?
Often close enough for cars. A decent pencil or basic digital gauge usually lands within 1 to 2 PSI of true, which is all a passenger tire needs. The extra money buys durability, a backlit display, a bleed button, and certification paperwork. If you check monthly and store the gauge indoors, a budget gauge serves most drivers well. Step up to a certified gauge if you run higher pressures or just want a number you never second guess.
Q: Why do I lose air when I unscrew the inflator hose?
You hear the hiss of air trapped in the hose and chuck escaping, plus a puff from the tire before the valve core snaps shut. A screw-on chuck typically costs you around 1 PSI per disconnect. The fix is to overshoot your target by 1 PSI, then verify with a standalone gauge after the disconnect. A quarter turn past finger tight seats the chuck without crushing the seal.
More Smart Gadgets Articles
Related Product Reviews



Consumer electronics reviewer specializing in smart gadgets and everyday tech. Tests 100+ gadgets annually. Previously wrote for The Verge and Wired. Focus on practical daily-use value.